Basic Wordpress - User Guide

Basic Wordpress - User Guide

Permalinks

Overview

Permalink is short for “permanent link.” Permalinks are permanent URL structures used to help organise the content of your website (pages, posts, products, etc.) so it can be efficiently navigated, shared, and referenced by users and bots.

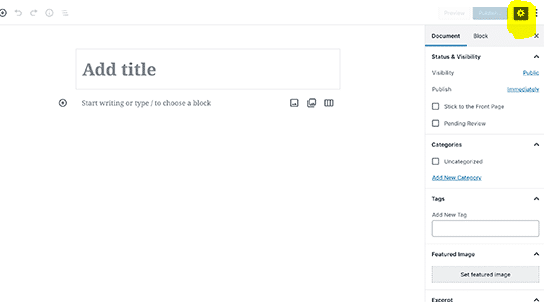
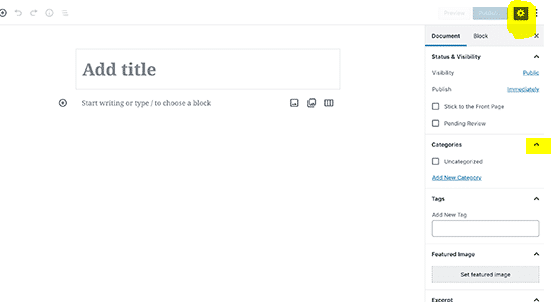
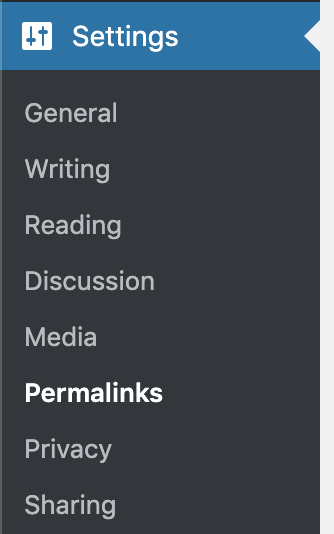
Permalink settings for WooCommerce can be found at WordPress > Settings > Permalinks.

Permalink Settings Menu Location

From here you can configure the URL structure for your shop and product pages.

For best practice, permalink structures should contain keywords relating to the content they help categorize. 

There are three settings at WordPress > Settings > Permalinks > Optional that control the base of your categories, terms, and attributes on WooCommerce:
Taxonomy Permalink Settings

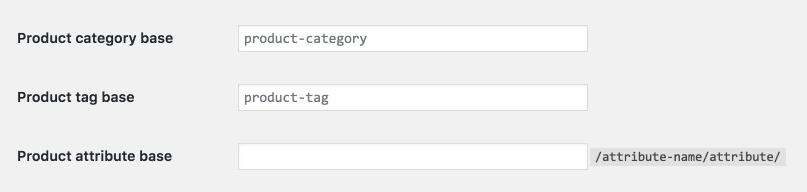
  • Product category base – The default product category base is product-category. An example would be yourdomain.com/product-category/category-name.
  • Product tag base – The default product tag base is product-tag. An example would be yourdomain.com/product-tag/tag-name.
  • Product attribute base – The default product attribute base will optionally use a custom base before /attribute-name/attribute/. An example without anything set would be yourdomain.com/size/medium or yourdomain.com/color/blue. If you set a custom base, an example would be yourdomain.com/attribute/size/medium where attribute is designated for the base.
There are four settings under WordPress > Settings > Permalinks > Product Permalinks to select from as your permalink base for products:
Product Permalink Settings

  • Default – If you are not using pretty permalinks, Default will be the only option available to you and will use ID-based URLs. An example would be yourdomain.com/?product=111. If you are using pretty permalinks, the product base will be yourdomain.com/product/product-name.
  • Shop base – The shop base will use the shop page name. An example would be yourdomain.com/shop/product-name.
  • Shop base with category – The shop base with category will use the shop page name first, then add the product category name. An example would be yourdomain.com/shop/product-category-name/product-name.
  • Custom base – The custom base will allow you to set custom text before the product name. An example would be yourdomain.com/custom-text/product-name.

Note: The product Custom base setting should NOT conflict with the Taxonomy permalink settings. If you set the product base to 
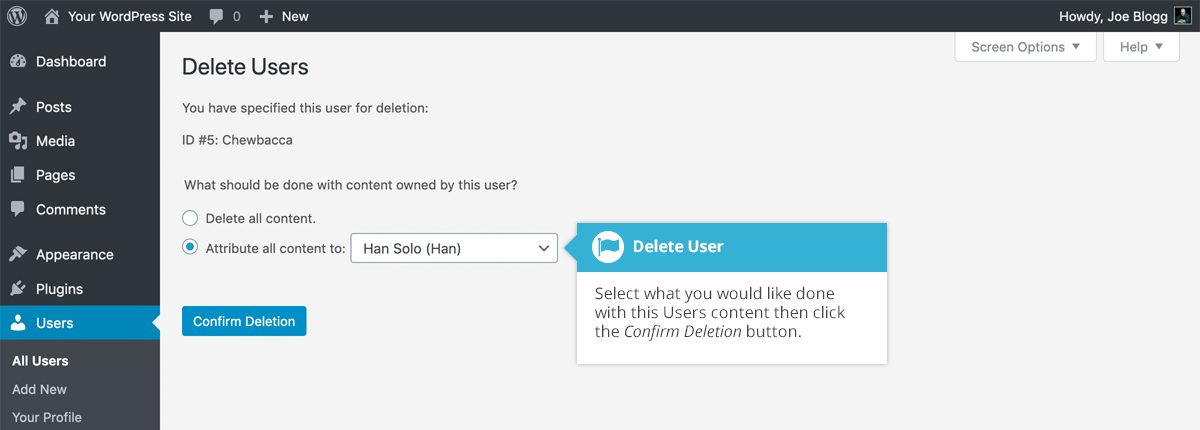
shop for example, you should NOT set the product category base to shop too, as this will not be unique and cause a conflict. WordPress requires something unique so it can distinguish categories from products.

How to Add a User

  1. From your Admin's Dashboard, go to Users > Add New
  2. Fill up the form, with required fields; username, email, password and role.
If you are creating and admin account, select Shop Manager.
  1. Once all set, you can click the "Add New User" button.
If the user cannot be created, it might be that the username or email address is already taken. Best to search for the user using their email address to verify.


How to Delete a User

  1. To delete a user, click on the Delete link that appears beneath the user name when hovering your cursor over each row.
  2. The Delete link won't appear for the user that is currently logged in.


Along with deleting the user, you will be given the choice of what to do with all the content currently assigned to that User. The available choices are:

  1. Delete all content – This will delete all the content that this user created
  1. Attribute all content to – This will assign all the content currently linked to this User, to another User of your choosing. Simply select the User from the dropdown list
After making your selection, click the Confirm Deletion button to remove the User.

Add images to blog posts


Images are a handy way of making your blog posts more interesting to look at. A few well placed photos, graphs, graphics or clipart can improve the readability of otherwise text heavy pages. The steps to inserting an image into a blog post in WordPress are:
  1. Place the cursor where you want the image to appear
  2. Click Add media
  3. Click Upload then Upload Files and upload the image from your computer
  4. Enter a title text with keywords
  5. Choose the size, alignment and link settings
  6. Click Insert

If the image is already in the media library then you can skip the upload part.


1. Place the cursor in the text where you want

If you are going to have the text above and below the image without wrapping around the sides of the image then create a blank paragraph by pressing enter below or between the paragraphs where you want to insert the image. otherwise, if you are inserting an image which will be aligned to the left or right and the text is going to flow around it then place the cursor at the start of the line where you want the top of the image to sit.


2. Add Media

The Add Media button can be used for inserting images, pdf and word documents into a page. If you use it to insert a pdf or word document then it will insert as a link on the page rather than an image.


3. Upload your image

Once you have clicked Add Media you will be on the Media Library screen. If the image you want is already uploaded to your website then you can select it from the library and skip the upload process. However if you want to upload a new image click on the upload tab and then the upload button in the centre of the screen.


4. Image title

Make your image title a short text description of the image which includes your keyword for that page or post. If you have named your image files with descriptive names then you will find that the title has been set to the image name. It is helpful for your search engine optimisation if your images have well worded titles with keywords.


Image sizes

WordPress has 4 standard image sizes, these can be changed to suit your website but are by default:

  • Thumbnail (square): 150×150 pixels
  • Medium: 300 pixels wide with the height scaled down accordingly
  • Large: 1024 pixels wide, though we often set this to be the full width of your website content column, eg 700px
  • Full: The maximum size of the image available

For most purposes in a blog you will be using medium for pictures which will be about half the width of the text area, or thumbnails for a square image to the side of the text, or a large image to fill the width of the blog page with text above and below. If you want to change the default image sizes it is in the WordPress dashboard under Settings > Media.

Alignment

There are four options available:

  • None: text is above and below the image, no wrapping of text around the image
  • Left: image is on the left of the blog post and text wraps around the right of the image
  • Right: image is on the right of the blog post and text wraps around the left of the image
  • Center: image floats in the center of the blog post

Link:

The default is usually to link to the media file, so that if someone clicks on the image they see the full sized version of that image. You can change the link so that it points to a certain page or external website link, pdf etc. The other option is the Attachment page and it is unlikely you will want that because there isn’t usually anything of interest on the attachment page so just ignore it.


6. Insert the image

That’s it, you have successfully inserted an image into your blog post.

Rearrange Post Edit Screen in WordPress Website

Rearrange the Classic Post Edit Screen

1. Minimize and maximize a meta box

Add Category
The upward and downward arrow highlighted above can be used to minimize or maximize a particular section. Each meta box will have these arrows.

2. Move the metabox from one location to another
Click and drag the metabox title to change its position from one location to another. The box can be attached either at the bottom of the editor or at the right hand column

3. Use the screen features to display meta boxes
Click on the screen button highlighted below. You can uncheck the meta boxes you want to remove from your post edit screen.

Add new post
The screen option is also used to enable the single or dual column mode.

4. Full screen editor
You can enable the full screen editor through the Alt+Shift+W keys. The post editor also has a full screen button

Add new Posts WordPress

Rearrange the WordPress Block Post Edit Screen

1. Show/Hide WordPress Post Editor Panels
Click on the three dot button in the upper right corner. Select options as highlighted below. The options menu box will appear from which you can check or uncheck the panels or blocks on the post edit screen.

Top Toolbar

2. Move Block Toolbar to the Top
Each block has its own block toolbar. The block toolbar is placed right above the editor screen. Click on the three dot button and choose the “Top toolbar” option to move your block to the top right screen. This will free all the distraction from the editor screen.

3. Remove Right side panel to focus on the content
You can remove the right side panel by clicking on the gear icon at the top right corner.

WordPress posts panel

4. Fullscreen Editor
clieck on the 3 dots button and select the fullscreen mode.

Fullscreen Editor

5. Use the Spotlight mode
The spotlight mode will focus on a specific block and dims the other blocks. You can turn it on or off by clicking on the three dots button at the top right section.

6. Collapse the entire document panel
The entire document panel can become elongated due to multiple sections that are being added onto it. Click on the upwards or downwards arrow to collapse or show a particular section.
document panel


    • Related Articles

    • Basic Wordpress - Troubleshooting Guide

      Remove WordPress comments You can remove comments individually or in bulk within WordPress. Log in to WordPress Go to Comments > All Comments Filter comments based on the following: All Pending Approved Spam Trash After filtering comments you can ...
    • Pop Ups (Basic) - User Guide

      For pricing and how to add to your website see at the bottom of the page. This article guides new users to quickly create a popup using the fewest steps possible.  Popups are created and edited in the popup editor. As a new user, you need to know a ...
    • Basic Woocommerce - User Guide

      For pricing and how to add to your website see at the bottom of the page. Adding and Managing Products Adding a product Before adding your first product, let’s get familiar with how product categories, tags, and attributes work. Product Categories ...
    • Gravity Forms Mailchimp Add-on - User Guide

      For pricing and how to add to your website see at the bottom of the page. Setting Up the Mailchimp Add-On Where to Find These Settings The Mailchimp settings page can be found within your WordPress admin dashboard. From within the left side ...
    • GTM for Wordpress - User Guide

      For pricing and how to add to your website see at the bottom of the page. How to access a Data Layer variable Follow the steps below to access any of the Data Layer variables this plugin can provide: Click on the Variables link in the left pane of ...