Gravity Forms Zapier - User Guide
Setup
Create a REST API Key to Connect to Zapier

Follow these steps in the Forms > Settings > REST API to create a new Consumer Key and Consumer Secret. Save this information in a secure place as you will need it for the next step to Authenticate at Zapier and you will not be able to edit or access this information again without creating a new REST API key.
Authenticating at Zapier
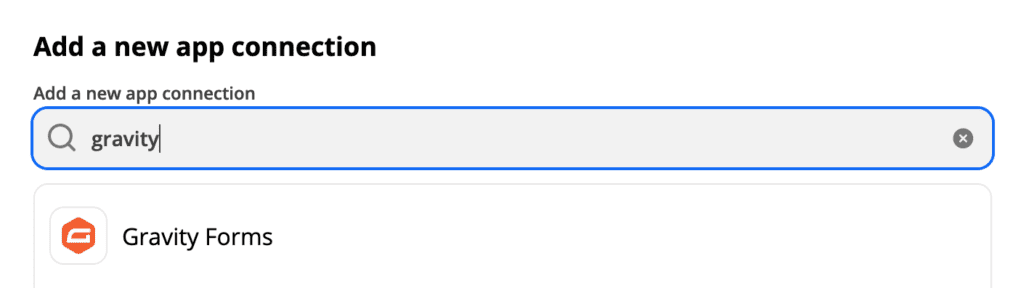
Now that you have your Consumer Key & Consumer Secret, go into My Apps in your Zapier Account Dashboard, click on Add Connection and search for Gravity Forms
Click on Gravity Forms and you’ll be presented with an Authentication screen from Zapier to “Allow Zapier to access your Gravity Forms Account”
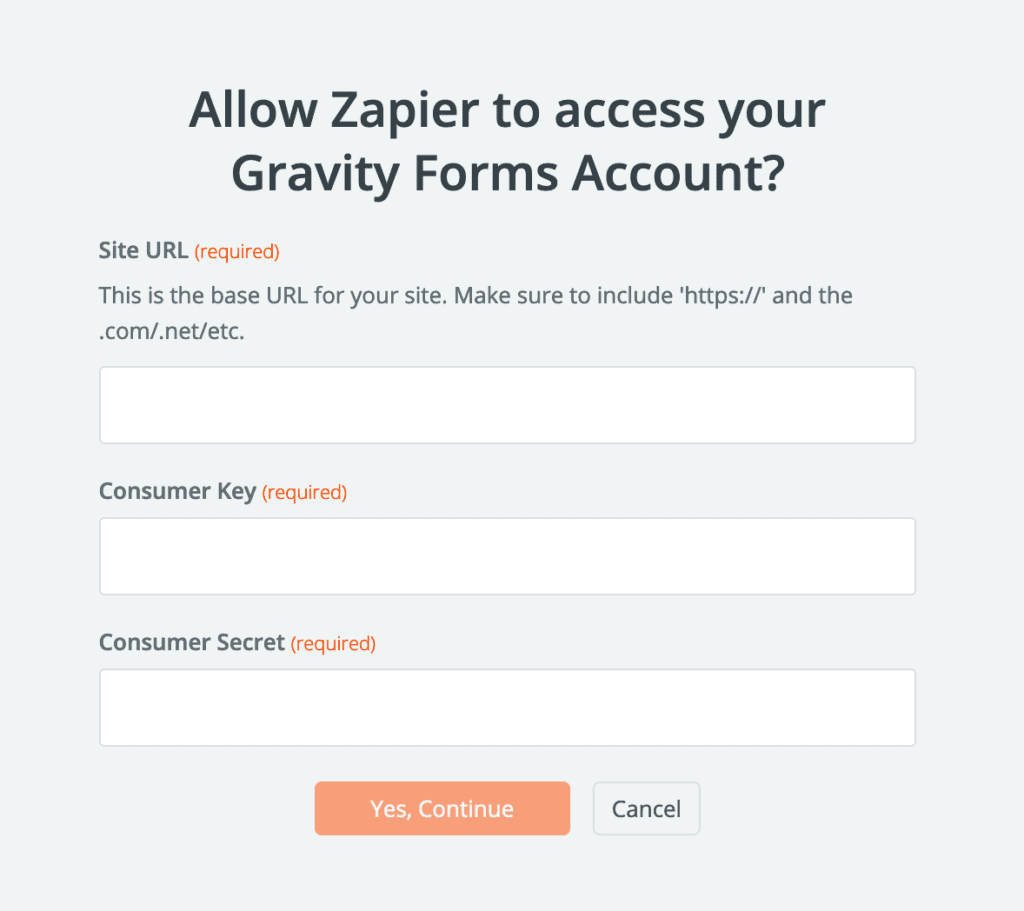
Complete the steps to authenticate with your website through REST API:
- Site URL: The Site URL is the base website URL where your form resides, ie https://jimmyspizza.com or https://shops.sallysdoughnuts.com. You can pull the Site URL from your Settings > General > Site URL in the WordPress dashboard.
- Consumer Key: Collected from your step above when creating the REST API Key
- Consumer Secret: Collected from the step above when creating the REST API key.
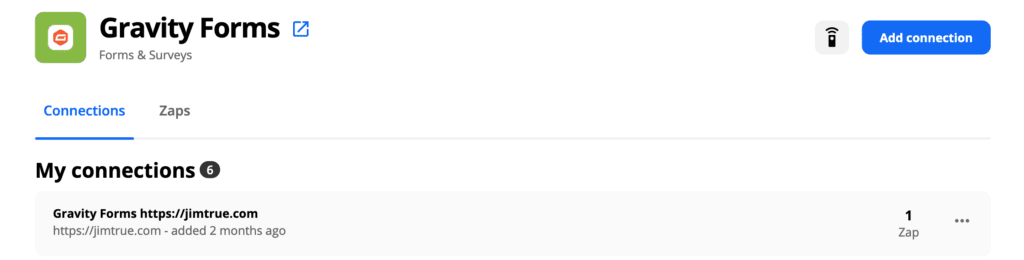
If your connection is successful, you’ll be returned to your Gravity Forms connections in the Zapier Account Dashboard and your new connection will be listed:
Once you have installed and authenticated the Zapier Add-On, you’re ready to begin using the Zapier Add-On.
Changes Between Zapier Add-On 4.0 and Prior Versions
Under prior versions of our Zapier Add-On, authentication to Zapier was managed at Zapier under Zaps with a webhook provided by Zapier and entered under the Zapier Feed Settings for each individual form. This was the Zapier v1.0 connection.
Under the current version of the Add-On that supports Zapier v2.0, authentication is managed at Zapier under My Apps using the REST API settings in Gravity Forms, Forms, Settings, REST API to create a website specific connection for Zapier. This allows you to have one App for each website under the Zapier Add-On for Gravity Forms and you can use the same Zapier App connection to manage multiple forms in your Zaps.
When troubleshooting your existing Zaps, you’ll know if your Zap is an “App Connection” (Current) or a “Zap Connection” (pre 4.0) if:
App Connection (Zapier v2.0+) – REST API

- Gravity Forms App under Custom Integrations in Zapier includes ‘Gravity Forms’ (see screenshot above)
- Feed exists for the form within Gravity Forms (if you have toggled on Feed Visibility), but you can only edit Conditional Logic. All other feed settings are maintained at Zapier.
- Feed URL starts with (https://hooks.zapier.com/hooks/standard/*)
Zap Connection (Zapier v1.0) – Legacy Webhook

- Gravity Forms App under Custom Integrations in Zapier includes ‘Legacy’ and ‘Gravity Forms (1.1.0)’ (see screenshot above)
- Feed exists for the form within Gravity Forms and you can edit all details for the feed.
- Feed URL starts with (https://hooks.zapier.com/hooks/catch/*)


Related Articles
Gravity Forms Zapier - Feature
View Guide Links at the bottom of the page Installation 1 CRU CREDIT Setup (optional) 1 CRU CREDIT Ease Of Use Easy Want this feature? Request Here Purchase CREDITS Here Extensive Integration Options Zapier is an impressive platform that allows ...Gravity Forms Zapier - Troubleshooting Guide
Can't see any Troubleshooting Guides on this page? This means we don't have any, please raise a ticket here if you have an issue and help us build out our guides! Overview and pricing of this feature. Click here Looking for the user guide for this ...Gravity Forms User Registration - User Guide
For pricing and how to add to your website see at the bottom of the page. Create Your Form The first step in integrating the User Registration Add-On is going to be creating the form you would like to use. This can include existing forms. The only ...Gravity Forms - Features
View Guide Links at the bottom of the page Installation 1 CRU CREDIT Setup (optional) 1 CRU CREDIT Ease Of Use Easy Want this feature? Request Here Purchase CREDITS Here Go where no form has gone before. Built-in features give you more control with ...Gravity Forms User Registration - Feature
View Guide Links at the bottom of the page Installation 1 CRU CREDIT Setup (optional) 1 CRU CREDIT Ease Of Use Easy Want this feature? Request Here Purchase CREDITS Here Seamless Integration With the Gravity Forms User Registration Add-On you can ...