Smart Coupons provide a powerful, “all-in-one” solution for gift certificates, gift cards, store credits, discount coupons, and vouchers extending the core functionality of WooCommerce coupons.
This doc article explains how to set up & configure the Smart Coupons plugin.
Configuration
Enable coupons
Go to: WooCommerce > Settings > General > Enable coupons. Check ‘Enable the use of coupon codes’ box to activate coupons on your store.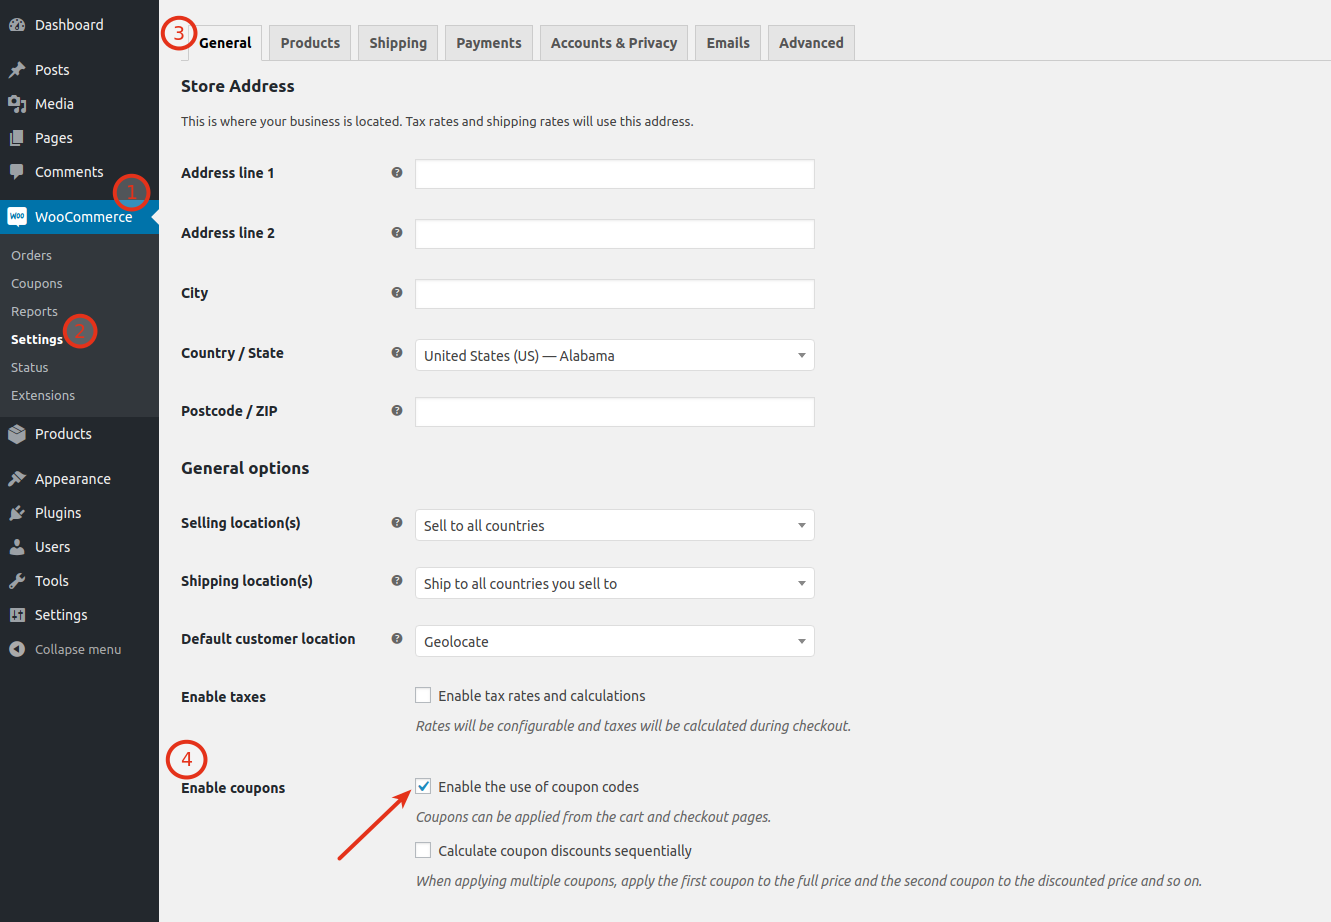
General Settings
Go to: WooCommerce > Settings > Smart Coupons. You’ll find the following Smart Coupons settings: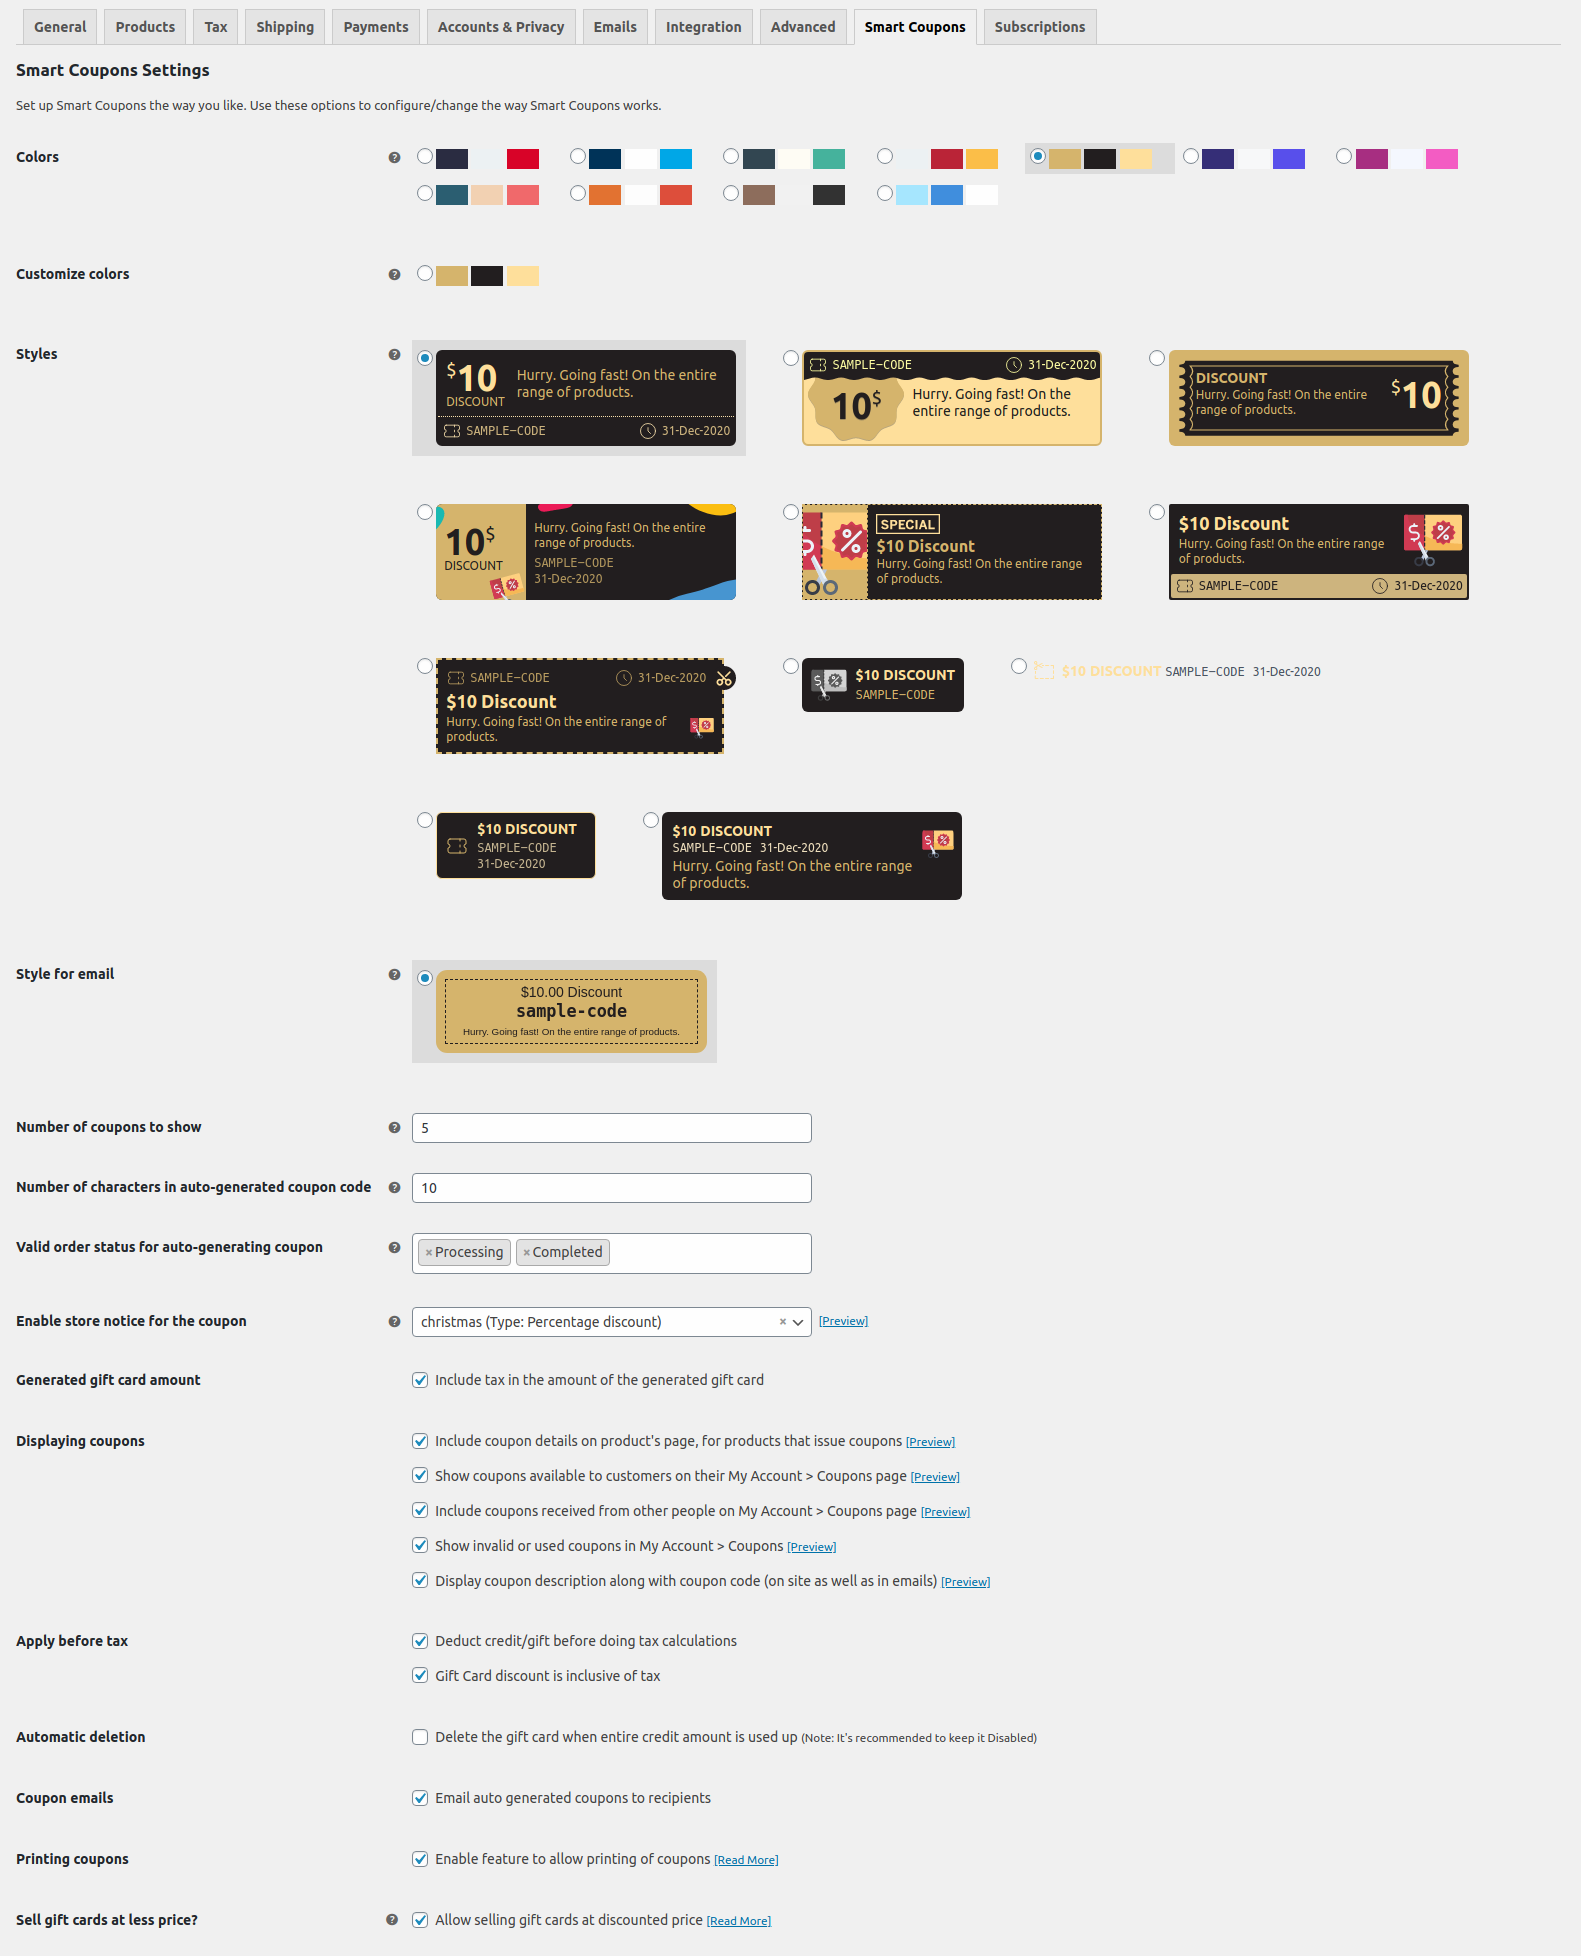
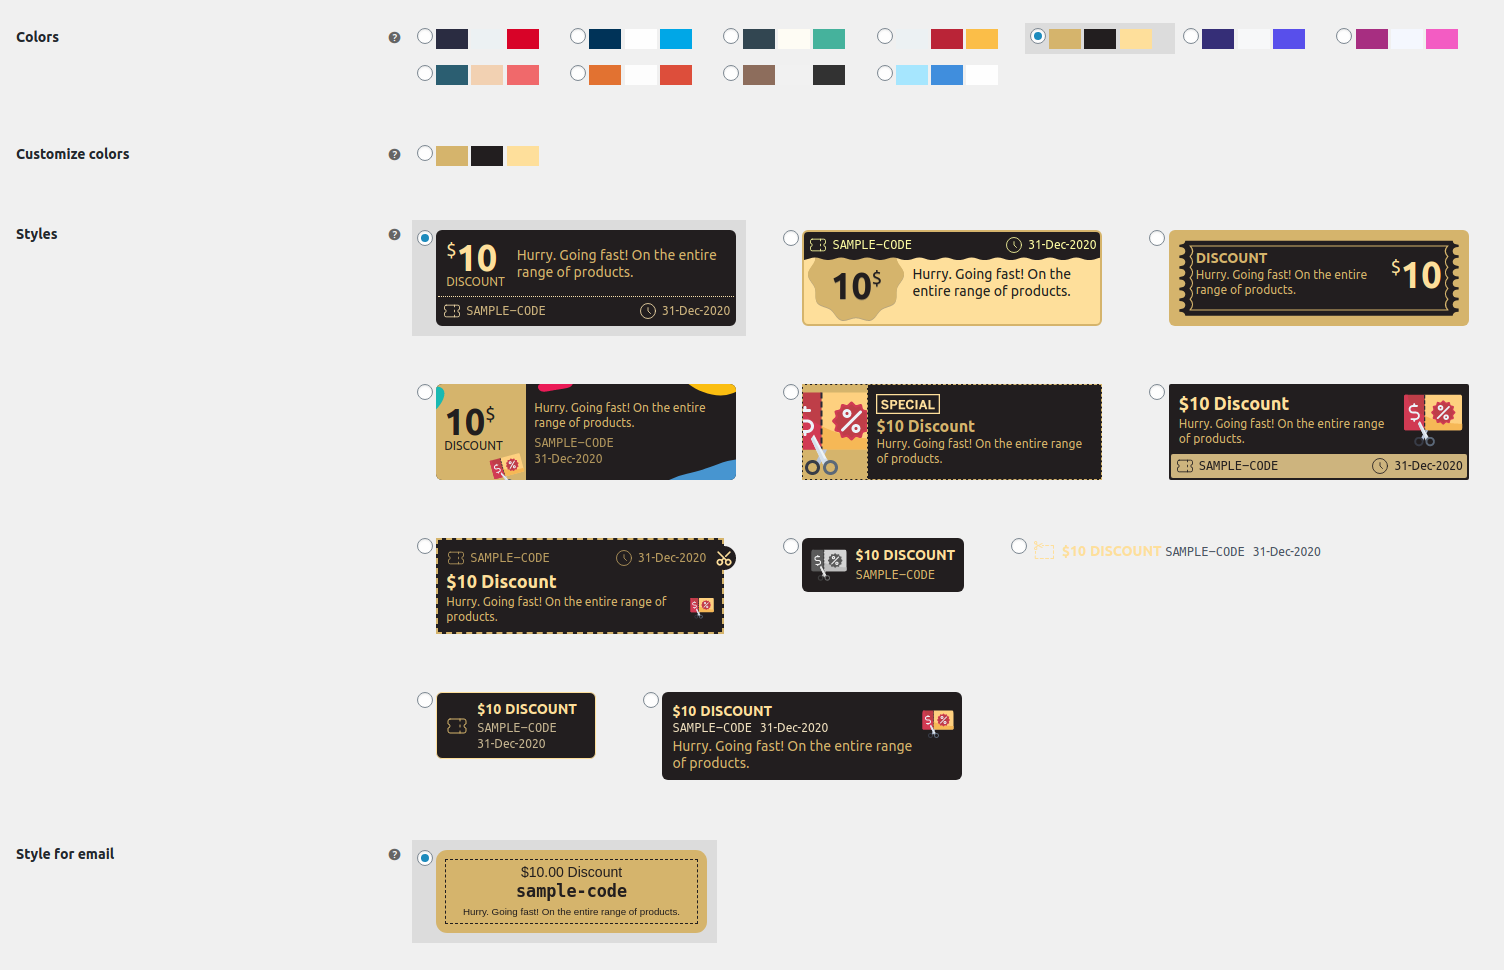
- Colors: Some of the predefined color pallets are listed here. You can choose any one from the list (as per your theme’s color scheme). The selected pallet’s color will be applied to the coupons that will be displayed on the website.
- Customise colors: Using this, you can choose your own set of colors that will be applied to the coupons. You will be able to see the changes in the coupons below as and when you change the colors.
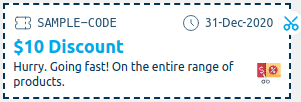
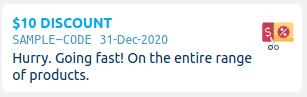
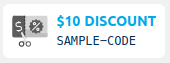
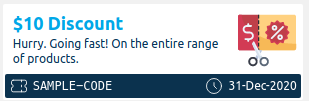
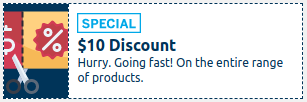
- Styles: The coupons will look like this on your website. You can choose any one. The selected coupon’s style will be applied to all the coupons that will be displayed on the website.
- Style for email: The coupons that will be sent in the email will look like this.
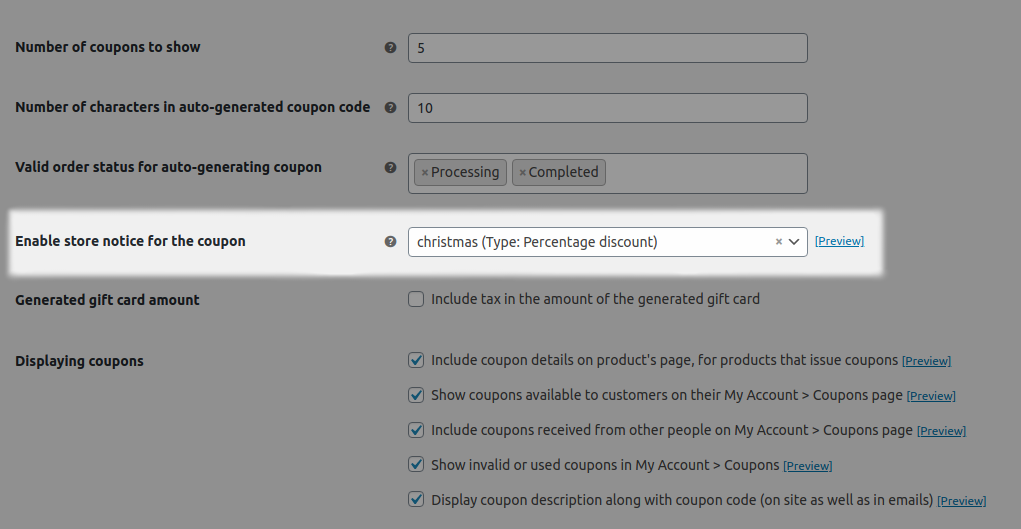
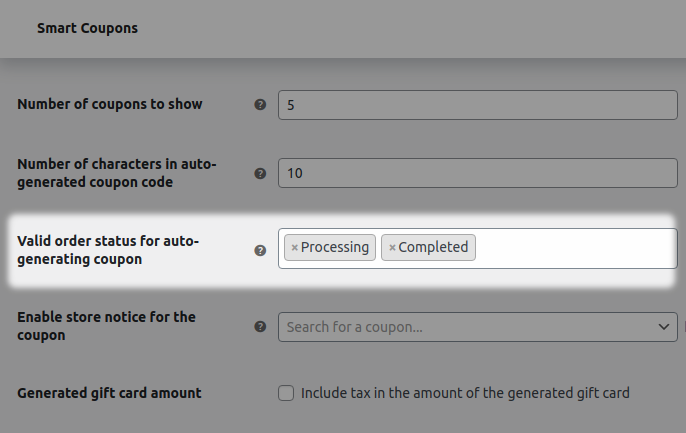
- Number of coupons to show: Enter how many coupons (at max) you want to show on the cart / checkout page.
- Number of characters in auto-generated coupon code: This option can be used to set the length of the coupon code that is generated automatically excluding prefix and/or suffix. The default length of the auto generated coupon code is 13. It is recommended to keep this number between 10 to 15 to avoid coupon code duplication.
- Valid order status for auto-generating coupon: Choose order statuses that will trigger the auto-generation of coupons.
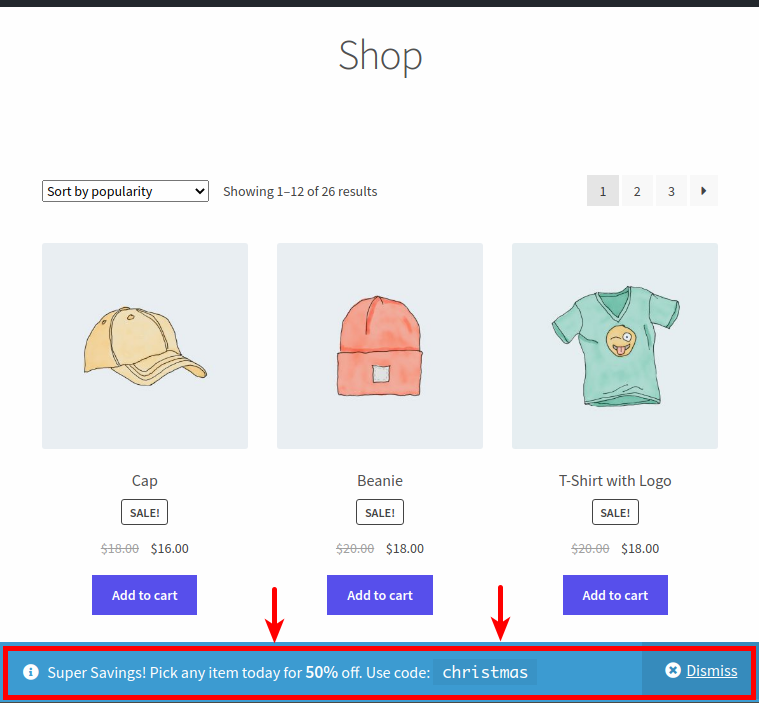
- Enable store notice for the coupon: You can search & select a coupon here. The selected coupon here will be displayed as a store notice throughout your website.
- Generated store credit amount: When “Include tax in the amount of the generated store credit” is enabled/checked, the generated credit amount will be the same as the amount that is paid by the customer. If this setting is disabled/unchecked then the generated credit amount can be less than the amount that is paid by the customer because the taxes paid by the customer will not be included in the credit amount.
- Displaying Coupons: Settings related to displaying coupons on the website. You can Enable / Disable these settings
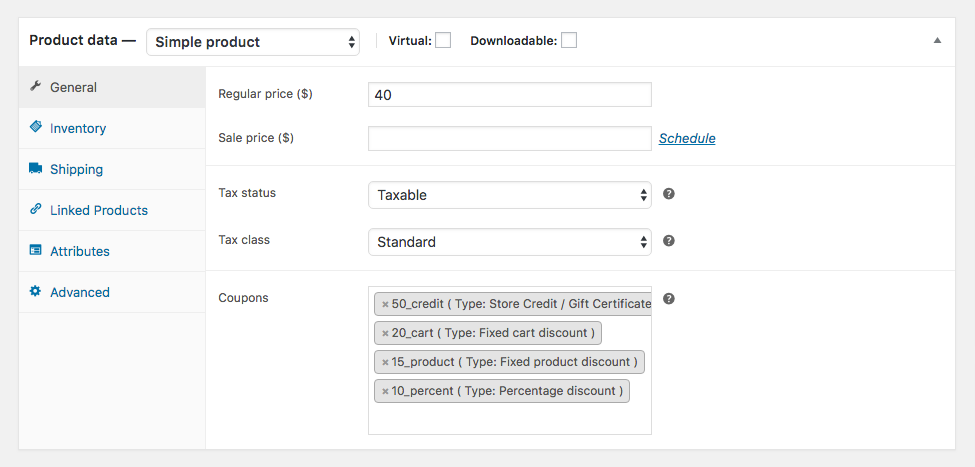
- Include coupon details on product page, for products that issue coupons
- Show coupons available to customers on their My Account > Coupons page
- Include coupons received from other people on My Account > Coupons page
- Show invalid or used coupons in My Account > Coupons
- Display coupon description along with coupon code (on site as well as in emails)
- Apply Before Tax:
- Deduct credit/gift before doing tax calculations: Enable this option to deduct store credit / gift card amount before doing tax calculations.
- Store credit discount is inclusive of tax: When enabled/checked, the store credit amount will also be applied to the tax.
- Automatic Deletion: Delete the store credit / gift certificate / gift card when entire credit amount is used up (Note: It’s recommended to keep it Disabled)
- Coupon Emails: Enable this option to email auto-generated coupons to recipients
- Printing Coupons: Enable this option to print coupons.
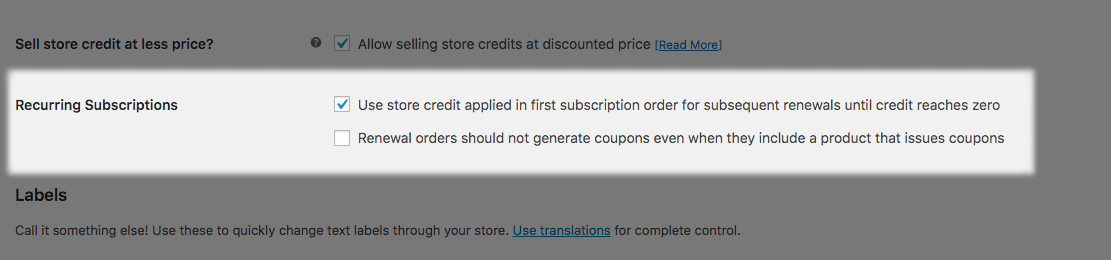
- Sell store credit at less price? – Enable this option to allow selling store credits at a discounted price
- Use store credit applied in first subscription order for subsequent renewals until credit reaches zero
- Renewal orders should not generate coupons even when they include a product that issues coupons
Labels
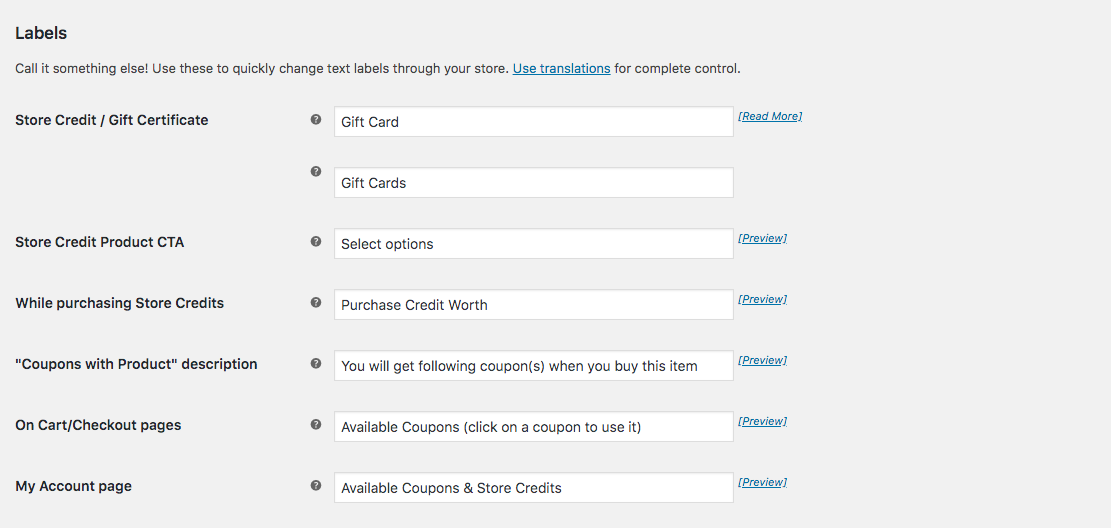
- Store Credit / Gift Certificate: Use this option to rename Store Credit / Gift Certificate on your site. For example, if you want to call Store Credit / Gift Certificate as Gift Cards on your store then set both the Singular and the Plural name for ‘Gift Card’. In this case, the Singular name will be ‘Gift Card’ and Plural name will be ‘Gift Cards’.
The renamed label will be shown on all pages that have the text ‘Store Credit / Gift Certificate’ except on Smart Coupons Welcome page, Smart Coupons Settings page, and Smart Coupons Privacy Policy guide. - Store Credit Product CTA: For products that sell store credits, the option you choose here will show up Instead of “Add to Cart”
- While purchasing Store Credits: When you opt to allow people to buy store credits of any amount, this label will be used
- “Coupons with Product” description: This is the heading above coupon details displayed on products that issue coupons
- On Cart / Checkout pages: The title for the list of available coupons, shown on the cart and checkout pages
- My Account page: The title of available coupons on My Account page
Coupon Receiver Details Form

- Allow sending of coupons to others: Enable this option if you want your buyers to send or gift coupons to someone else.
- Title: The title for coupon receiver details block
- Description: Additional text below the title
- Allow schedule sending of coupons?: Allow schedule sending of coupons? Enable this option to allow your buyers to select the date & time to deliver the coupons.
- Combine Emails: Enable this option to send only one email instead of multiple emails when multiple coupons are generated for the same recipient.
Save changes.
How to create coupons using Smart Coupons
Smart Coupons provide a powerful, “all-in-one” solution for gift certificates, store credits, discount coupons, and vouchers extending the core functionality of WooCommerce coupons.
This doc article explains, in how many ways you can create coupons using Smart Coupons.
Adding coupons
Store Credit/Gift Certificate coupons
- Go to: Marketing > Coupons (or WooCommerce > Coupons in case of WooCommerce 4.3 or lower).
- Add a new coupon. If you want to create a credit-based coupon, Store Credit or Gift Certificate, use Store Credit/Gift Certificate as the type.
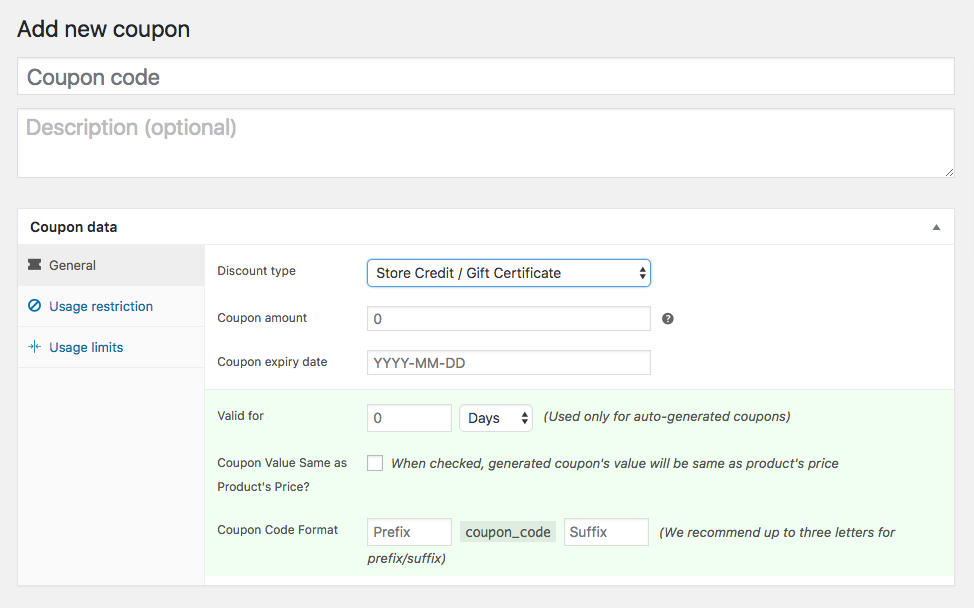
- Add other coupon details.
- Save.
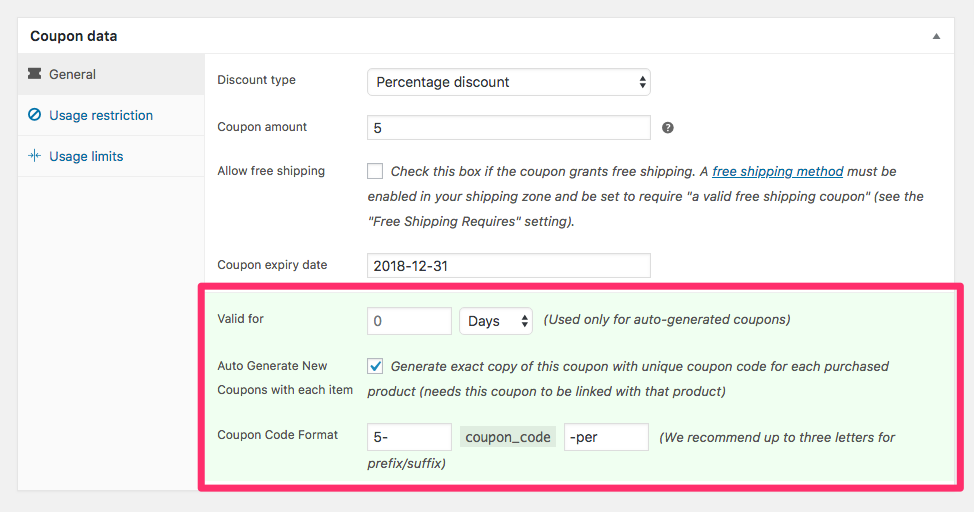
Auto-generating unique codes
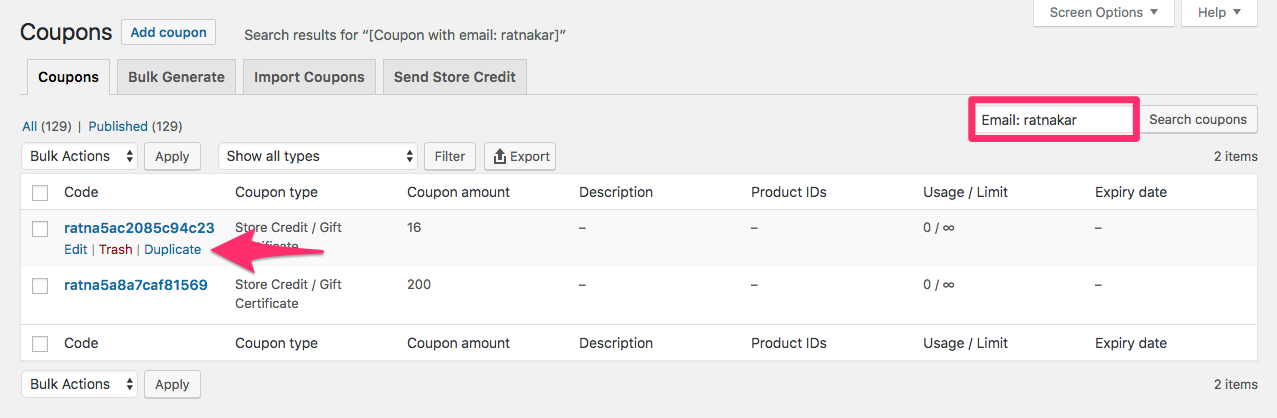
Any coupon can be used as a template to auto-generate new and unique coupons but with same attributes as the original. This feature also increases security, as people then can’t share coupons since auto-generated coupons are restricted to a customer’s email address.


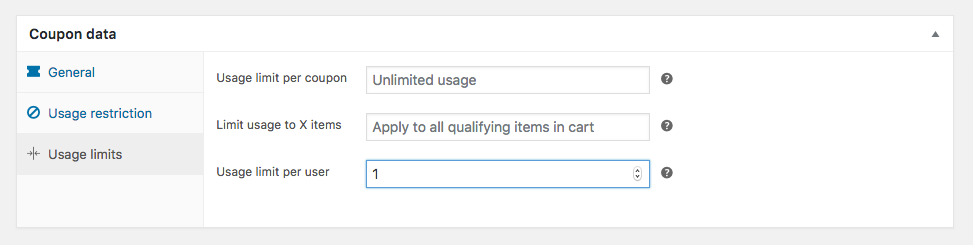
 Important: If you have any coupon in your store that can be used to buy this gift card/store credit, make sure to set ‘Usage limit per user’ under ‘Usage Limits’ to 1. Otherwise, your customer will get real credit at a discounted rate multiple times, resulting in a loss for you.