Woocommerce Refunds
Summary
In WooCommerce itself you can process refunds in two ways:
- Automatic: Refunds change the WooCommerce order status and also reverse the charge so your customer gets their money.
- Manual: Refunds change the WooCommerce order status, but you need to return the money manually to your customer.
Automatic Refunds
These are called Automatic refunds as when you process refunds that are connected to your payment gateway. Once you’ve processed this type of refund in your WooCommerce Admin, no further actions are necessary.
- Scope: Refunds normally extend to products, taxes, and shipping fees. However, transaction fees charged by the payment gateway will likely be lost and not refunded.
- Setup: Make sure that your API settings are set and test your payment gateway and refunds while in sandbox or test mode:
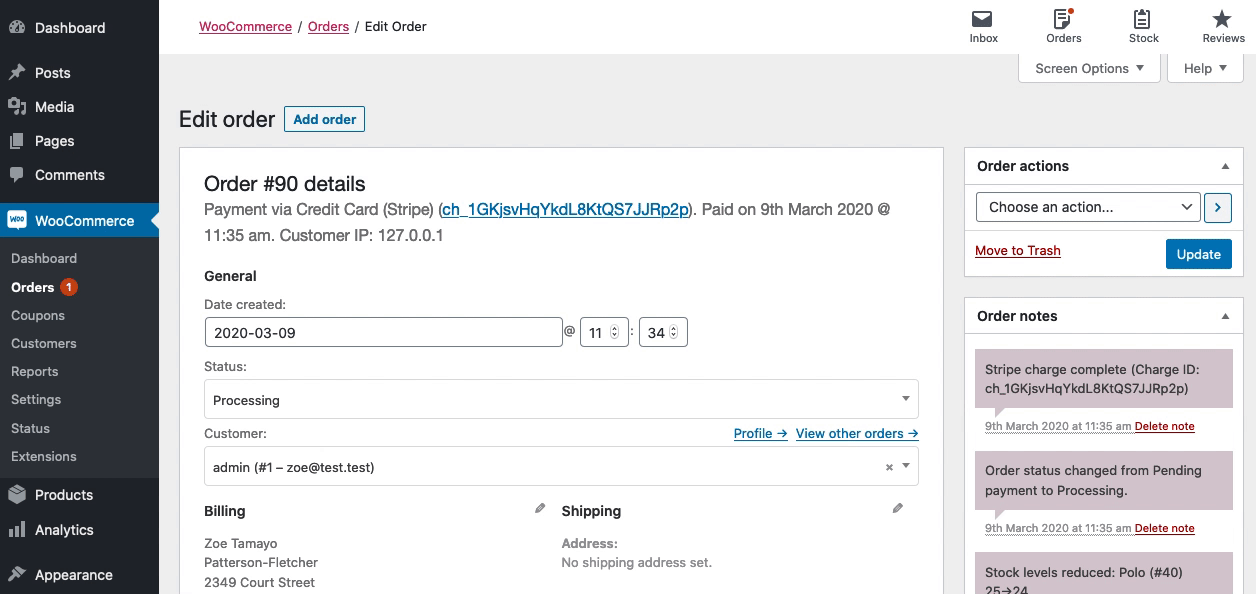
- WooCommerce: Refunds can be processed through the Orders:
- Go to: WooCommerce > Orders.
- Select the order to refund.
- Go to the order summary, and select “Refund” to start.
- Specify the quantity of the product(s) to be refunded in the text box(es) that appear for each line item. The refund amount will automatically adjust based on the products refunded. If inventory levels are not managed, you can also enter the Refund amount, without adjusting the product quantity.
- If the quantities of items are not set when issuing a refund then the order is not marked as refunded and the email that is sent will say “partial refund.”
- Add refund notes, if desired.
- Select “Refund $XX.XX via [your gateway]”.
How Do I Know It Worked?
Order Notes in the right sidebar will log refunds. Keep an eye on the order notes to learn if it’s been logged or if there’s an error message. A successful “Refunded” message in order notes concludes the refund.
Manual Refunds
- Check: Consult the documentation or support of your payment gateway on whether manual refunds are available. You will either need to:
- Log in to your payment method account and process the refund there.
- Transfer the money from your bank account manually.
- Scope: Refunds normally extend to products, taxes, and shipping fees. However, transaction fees charged by the payment gateway will likely be lost and not refunded.
- WooCommerce: Refunds can be processed through your Orders page. To manually refund an order:
- Go to: WooCommerce > Orders.
- Select the order to refund.
- Go to the order summary, and select “Refund” to start.
- Specify the quantity of the product(s) to be refunded in the text box(es) that appear for each line item. The refund amount will automatically adjust based on the products refunded. If inventory levels are not managed, you can also enter the Refund amount, without adjusting the product quantity.
- If the quantities of items are not set when issuing a refund then the order is not marked as refunded and the email that is sent will say “partial refund.”
- Add refund notes, if desired.
- Select “Refund $XX.XX manually”.
Items selected for a refund will be noted as refunded. Once the refund has been applied to the order, it will look like this:
Note: This does not refund the customer via the payment gateway. Continue on to your payment gateway’s dashboard to start the refund process there, or transfer the money manually back to them.
Restocking Products Based on Refunds
When processing a refund, you have the option to restock products by ticking the “Restock refunded items” box:
Related Articles
How to change from manual refund to stripe/eway refund
Sometimes you may need to change from manual refund to payment gateway refund in case you make a mistake. Check out the below actions to reverse this. For full refund documentation, please visit Woocommerce Refunds on the edit order page, click the ...Managing Orders - Woocommerce
Orders are created when a customer completes the checkout process, and they are visible to users with Admin and Shop Manager roles only. Each order is given a unique Order ID. Order IDs are non-sequential as they use the default WordPress ID ...WooCommerce Analytics
WooCommerce Analytics is a new reporting and data analysis tool to help you manage your WooCommerce Store. The suite introduces nine new reports along with advanced filtering and segmenting tools, the ability to download all data to CSV, and a ...Basic Woocommerce - User Guide
For pricing and how to add to your website see at the bottom of the page. Adding and Managing Products Adding a product Before adding your first product, let’s get familiar with how product categories, tags, and attributes work. Product Categories ...WooCommerce eWAY Payment Gateway - Feature
View Guide Links at the bottom of the page Installation 1 CRU CREDIT Setup (optional) 1 CRU CREDIT Ease Of Use Easy Want this feature? Request Here Purchase CREDITS Here The Eway extension for WooCommerce allows you to take credit card payments ...