Woocommerce Social Login - User Guide
For pricing and how to add to your website see at the bottom of the page.
Setup and Configuration
Installing the plugin will allow you to set some general settings for all social buttons, then enable settings for each social network. Let’s start with the general settings:
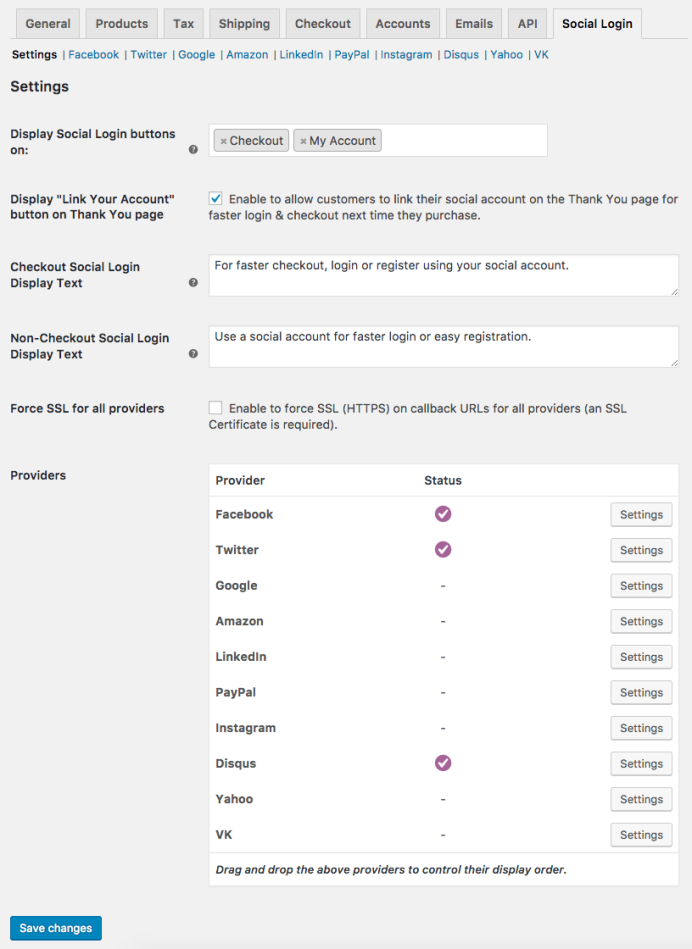
Social Login Options
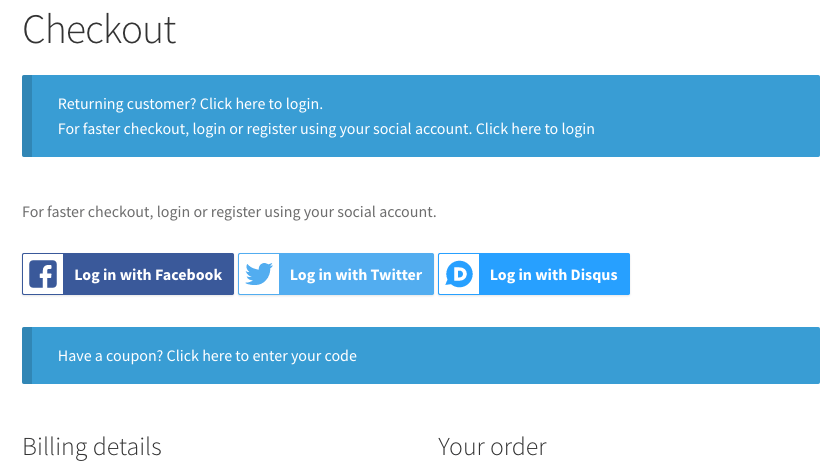
- Display Social Login on – This controls where the social login options are displayed:
- Checkout: Within the checkout “Log In” Notice
- My Account: On the “My Account” page login
- Checkout Notice: Within a unique Notice on the checkout page (recommend this OR Checkout, not both)
- Product Reviews Pro Login: If Product Reviews Pro is active, this option is shown to let you show Social Login on Product Reviews Pro login windows.
Please note that if a user is logged in (including you), s/he won’t see social login at checkout. The goal is to make your checkout experience seamless, so introducing a distraction at checkout when user information is already there hinders this. - Display “Link Your Account” button on Thank You page – This will display a notice on the top of the Order Received page to ask logged in users to link their account for faster checkout in the future.
- Checkout Social Login Display Text – This controls the text displayed to users above the social login buttons at checkout.
- Non-Checkout Social Login Display Text – This controls the text displayed to users above the social login buttons outside of checkout, such as if used in a widget.
- Force SSL for all Providers – Enable this to force all callback URLs (when returning to your site) to use SSL (you must have an SSL certificate installed).
- Providers – List of connected providers; drag and drop to change the display order on the frontend.
Provider Settings
Most providers have similar settings (aside from PayPal). You can find settings for each provider under WooCommerce > Settings > Social Login > {Provider Name}.
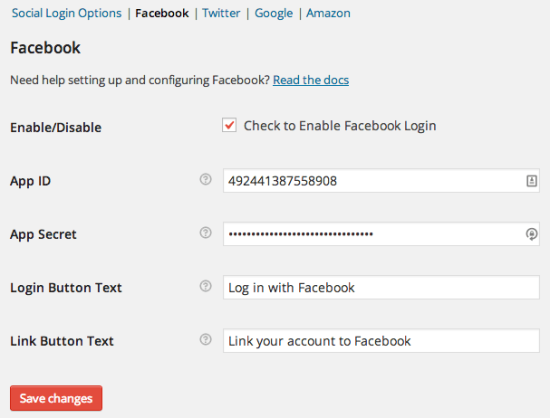
- Enable/Disable – Check this option to use this provider’s login where you display social options.
- App ID / Client ID / API Key – The name for this field may change, but for each provider, this is the Key or ID you get while creating your app.
- App Secret / Client Secret / API Secret – The name for this field may change, but for each provider, this is the Secret key you get while creating your app.
- Login Button Text – The text that will be displayed on Social Login Buttons for the provider.
- Link Button Text – The text that is displayed on the “My Account” page asks current customers to connect social accounts to the provider.
Here’s an example of the Facebook Settings:
PayPal Settings
PayPal has an additional setting worth noting: Environment.
Enable/Disable – Check this option to use PayPal login where you display social options.
Client ID – This is the Client ID for your PayPal app that you can access from your PayPal developer account.
Secret – This is the Secret for your PayPal app that you can access from your PayPal developer account.
Login Button Text – The text that will be displayed on Social Login Buttons.
Link Button Text – The text that is displayed on the “My Account” page to ask current customers to connect social accounts.
Environment – This is the environment for your PayPal login app. This should always be live. Sandbox can only be used with a dedicated PayPal sandbox account, which requires much further setup (and isn’t needed since we’re only testing login).

Connecting Social Networks
You can connect WooCommerce Social Login to Facebook, Twitter, Google, Amazon, PayPal, LinkedIn, Disqus, Yahoo, and VK. Please follow our Creating Social Apps guide to set up an app for your social network if you don’t already have one. This will give you API credentials to enter into the plugin settings page to connect your store to the social network(s) selected.
VIEW THE GUIDE
Using Social Login
Once you’ve created your apps and configured the plugin, there’s nothing else that needs to be done from the admin side!
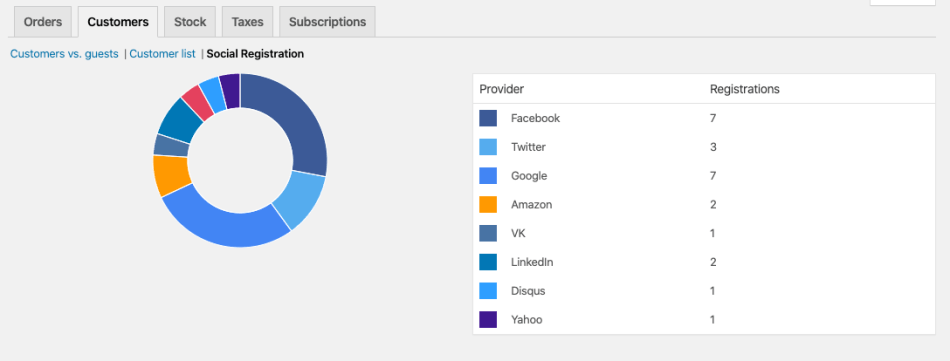
Reporting
If you’d like some insight into how this is used, you can view WooCommerce > Reports > Customers and go over to “Social Registration”. This graphic will show you total registration based on social network:
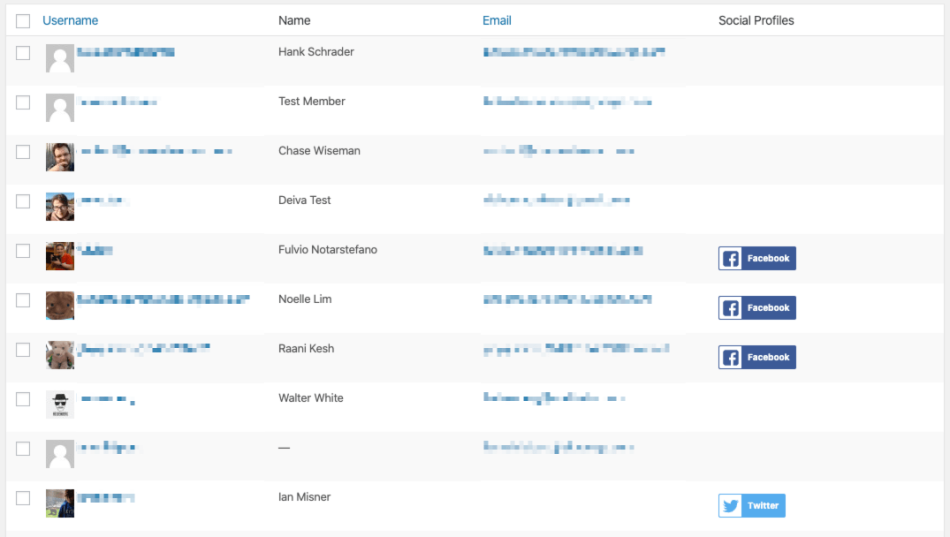
You can also view this information by visiting your “Users” menu, where you’ll see a new column for “Social Profiles”. This will display which accounts have been linked for a customer.
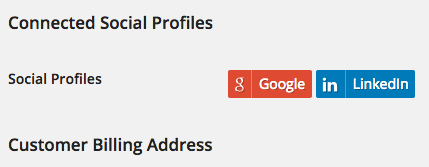
You can view linked account information in the user profile for the customer as well.
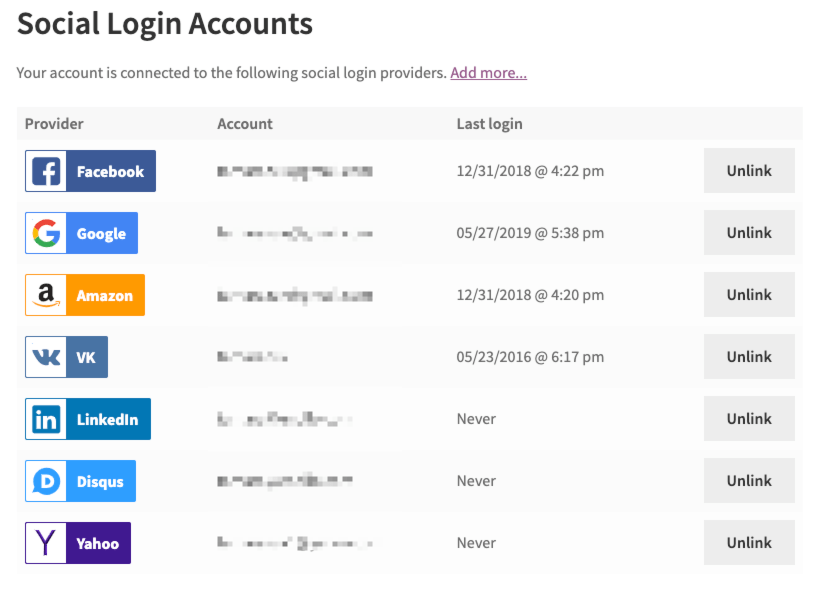
Customer Usage
Customers can manage linked accounts from the “My Account” page. Here they can add or unlink social networks to their customer account. Unlinking a social network will not delete the user account. Customers may have to reset the password to be able to log in if they unlink all accounts and do not want to use a social account to log in.
The only exception is Twitter, as we cannot access an email address from someone’s account via their API. The plugin does have a prompt to ask them to enter an email after signing up with Twitter, but the customer may not do so.
This means they won’t be able to log back into an account after unlinking. However, they can provide you with the appropriate Twitter handle, which will be set as the username. Using this, you can reset the account password and/or add an email address.
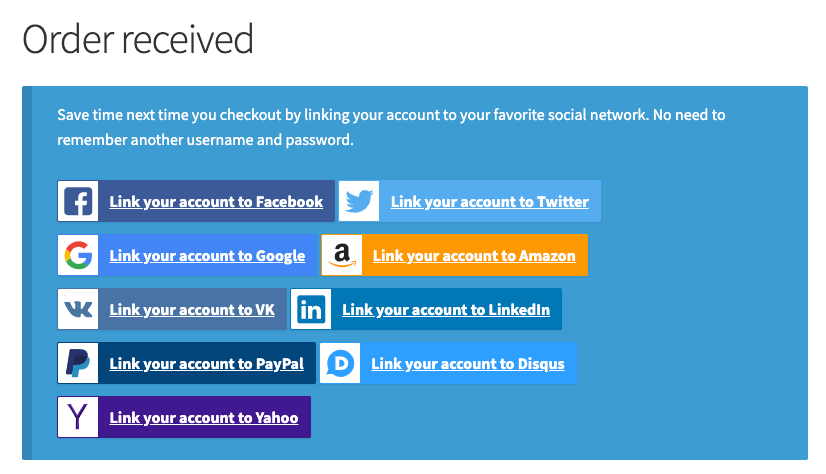
Customers can also link accounts from the Order Received page if you enable this notice:
Shortcodes and Widgets
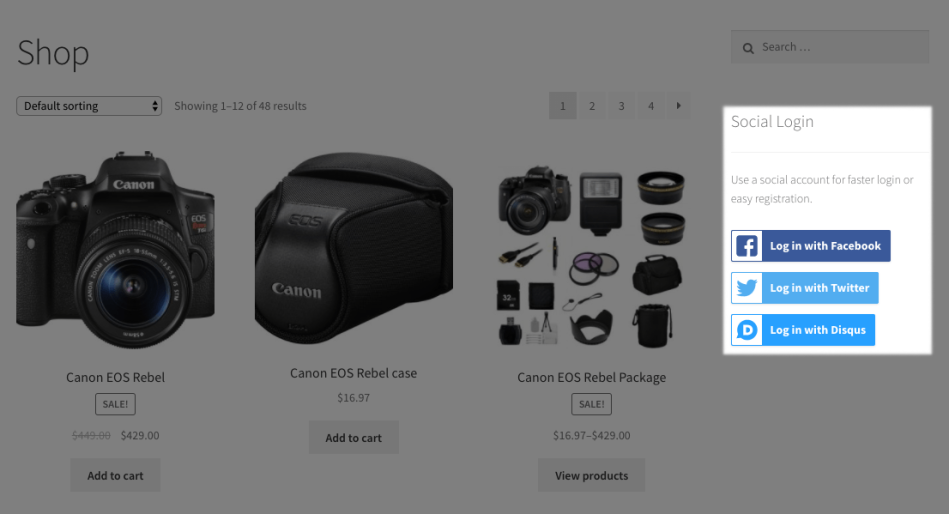
WooCommerce Social Login provides both a shortcode and widget for shop admins to display social login buttons anywhere they’d like to on their website. For logged out users, this will ask them to sign in. For logged-in users, they can link accounts to their site account.
You can use this shortcode:
[woocommerce_social_login_buttons return_url="https://mystore.com/my-account"]
to display the Social Login message and buttons for any activated networks. The return_url attribute is the page on which customers will be redirected after signing in. We recommend the “My Account” page, but you can use any URL for a page/post on your site.
You can also use the WooCommerce Social Login widget to add social login buttons to your sidebar or any widget area. The Return URL does the same thing here – it’s the page you want to redirect customers to after using the social sign-in.
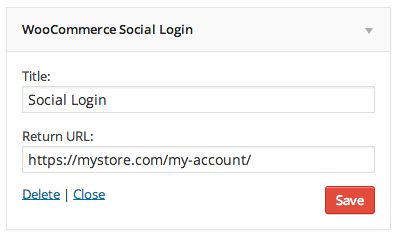
The final display will look like this:


Related Articles
WooCommerce Social Login
View Guide Links at the bottom of the page Installation 1 CRU CREDIT Setup (optional) 1 CRU CREDIT Ease Of Use Easy Want this feature? Request Here Purchase CREDITS Here Enable Social Login for Seamless Checkout and Account Creation Any checkout ...Woocommerce Social Login - Troubleshooting Guide
Troubleshooting Having trouble? Follow these steps to make sure everything is setup correctly before posting a support request: Check that your App / Client IDs or keys are correct Double-check that your App / Client IDs or keys are correct Go to ...Smash Balloon Social Wall - User Guide
For pricing and how to add to your website see at the bottom of the page. Setting up the Social Wall 1) Install and activate one or more of the Smash Balloon social media plugins - if you do not have any or only one of, please use the links below to ...Smash Balloon Social Wall - Feature
View Guide Links at the bottom of the page Installation 1 CRU CREDIT Setup (optional) 1 CRU CREDIT Ease Of Use Easy Want this feature? Request Here Purchase CREDITS Here Combine all your social media channels into one single wall and maximise your ...Groups WooCommerce - User Guide
Setup To sell memberships with WooCommerce requires the following extensions besides WooCommerce itself: Groups – Groups is free and designed as an efficient, powerful and flexible solution for group-oriented memberships and content access control. ...