Woocommerce Stripe Gateway - User Guide
For pricing and how to add to your website see at the bottom of the page.
Configure
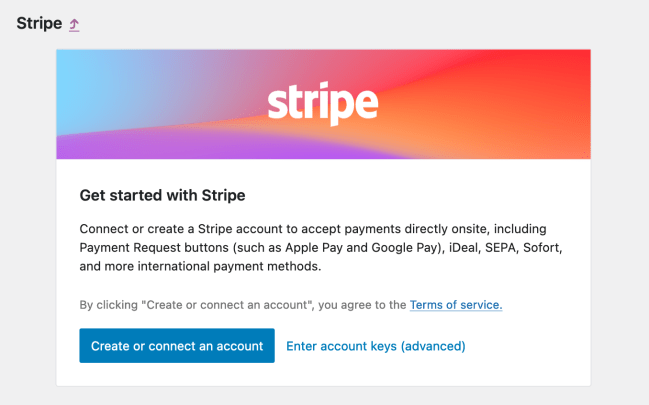
- Go to WooCommerce » Settings » Payments » Stripe:
- On initial setup, click “Create or connect an account” to configure the Stripe payment method with a new or existing Stripe account (or enter keys manually, copied from your Stripe dashboard).
- When the new checkout experience is enabled, then by editing the Name under Display Settings, you can change the payment method title in the event that more than one payment method is available.
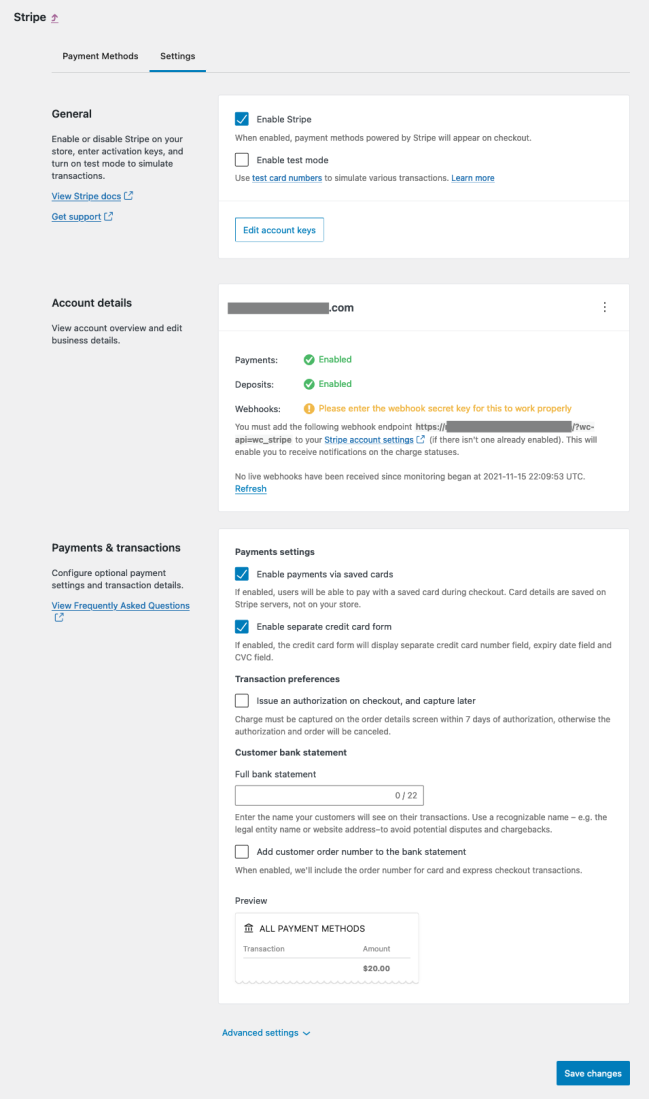
- If you wish to test payments before accepting real transactions, check the Enable test mode box and enter test account keys if prompted. Uncheck that box and save the settings to begin accepting real payments with Stripe.
- Leave Enable payments via saved cards checked, if you want to give Stripe customers the ability to use a card saved on their account for future purchases.
- If available, leave Enable separate credit card form checked unless you would like all credit card inputs to appear as one field.
- If you prefer, tick the checkbox to Issue an authorization on checkout, and capture later. (Otherwise, it will authorise and capture at the same time.) If this setting is enabled, you’ll need to capture funds manually for each order within 7 days – otherwise, the authorisation will be cancelled alongside the order.
- Save changes.
- Finally, we highly recommend completing the webhooks integration, present in the next section. That will help keep the communication between Stripe and your site synchronised.
Test Mode
Test Mode allows you to process transactions and simulate different payment responses using Stripe.com Test Cards. Toggle the Enable Test Mode checkbox and ensure the test API Keys are listed. Stripe has documentation on obtaining your test API keys in their documentation. After that, use your store as a customer, adding the test card details at the Checkout. Test Mode can also be used with express checkouts by adding a Stripe Test card to your browser for Google Pay / Microsoft Pay. Using Apple Pay when the Stripe setting for Test Mode is checked will allow you to process a payment without charging your saved Apple Pay payment method.
 Note: When Stripe is in Test Mode use one of Stripe’s test cards to avoid using real credit cards. While the latter will still work for testing purposes, it can lead to issues when a profile is created in one mode and then later used in the other.
Stripe Checkout
The new Stripe Checkout is not part of the WooCommerce Stripe payment gateway. This is an open enhancement and further details and any future development will be linked from this GitHub Issue.
Express checkouts
When the express checkouts option is selected, all types of express checkouts are activated (on your site) at once so you’re ready to accept payments via Apple Pay, Google Pay, or payment methods saved in the browser via the Payment Request API.
Express checkouts can be displayed on the product page, cart and checkout pages, and you can opt for hiding them on certain pages with the “Show express checkouts on” option.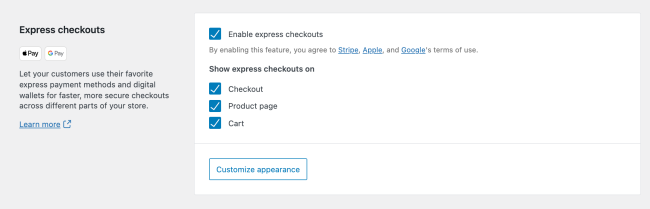
Express checkouts customisation
You can also customise the express checkouts call to action, size and theme via “Customize appearance”.
To preview the button, you need a compatible device and browser combination, as well as a properly configured Apple Pay/Google Pay wallet, or a saved credit card on your browser.
To see what an express checkout button looks like and how it behaves, go to the Stripe.com Demo Shop.
If both a) and b) are true, the button is styled like this:
Otherwise, the button is styled like this:
Apple Pay
Customers need to have a payment method from a supported bank or payment card provider listed on the Apple Pay™ support page and a compatible Apple device. Using this official ApplePay Demo page Apple.com will help confirm if Apple Pay should be available.
The WooCommerce Stripe payment gateway handles domain verification for you automatically, so no manual configuration should be required. If you encounter an issue, you can re-trigger domain verification by disabling the express checkouts option, saving changes, and then re-enabling it. (To manually verify your domain, navigate to the Apple Pay configuration on your Stripe Dashboard – see Stripe’s “Verify your domain with Apple Pay” doc for more.)
For existing Stripe merchants looking to enable Apple Pay, please ensure that the express checkouts option is ticked on within WooCommerce > Settings > Payments > Stripe. If you have any issues with accepting Apple Pay, please follow the steps above by logging into your Stripe Dashboard and verifying your domain.
Use of “Apple Pay > Web domains”, which our Stripe integration uses to display the Apple Pay button, is subject to the Apple Pay on the Web terms of service. This is a part of the Stripe Services agreement to which you agree when activating your Stripe account.
Google Pay/Microsoft Pay
Make sure that the express checkouts option is enabled, there is no other setup for you to accept payments via these methods.
Note: these buttons usually only show when there is a saved payment method in the browser or device being used. Customers need to have a payment method from a supported bank or payment card provider saved to their browsers.For detailed information about these payment methods, please click on the links above or visit the Stripe Payment Methods – alternatively Stripe.com has a Payments overview page with a lot of useful information. Most of these additional payment methods need to be enabled under Payment Settings on your Stripe.com Dashboard and may require additional information to be fully set up.
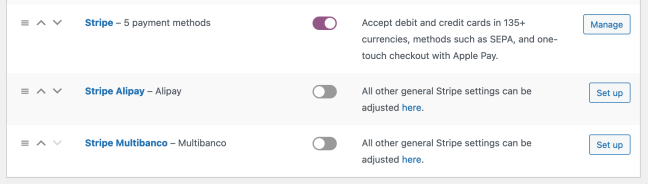
Once enabled in Stripe, they can be set up and managed under WooCommerce > Settings > Payments. If the new checkout experience is disabled, all of the APMs will appear separately, and can be enabled by using the slider icon or configured by selecting the payment service name. You can also change the title and description of each service within settings for that method.
If the new checkout experience is enabled, the Stripe gateway accepts multiple payments methods, as described under “Customer Usage” below. To enable or disable payment methods, toggle the corresponding checkboxes and click “Save changes” at the bottom of the page.
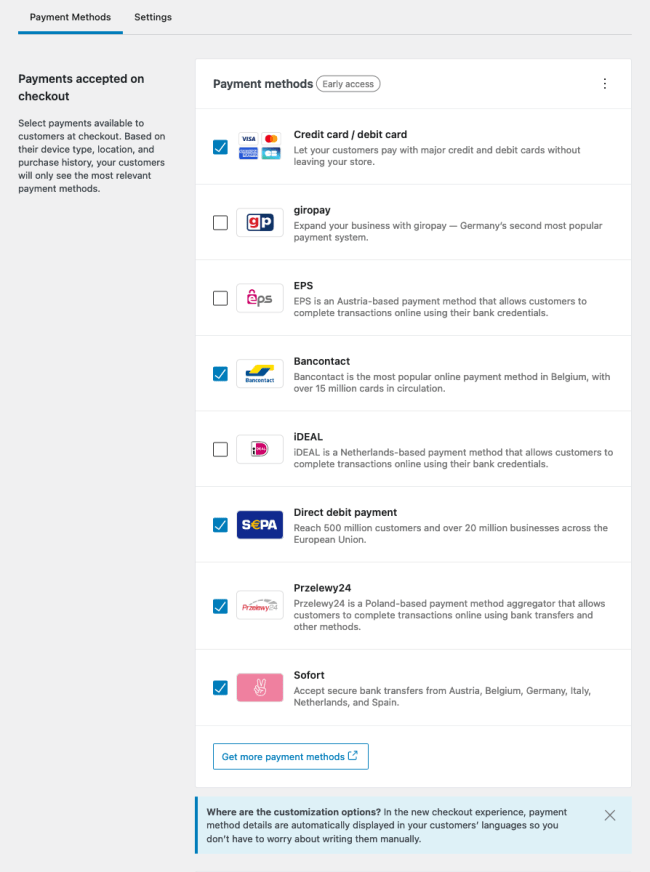
Payment methods that are not currently accepted in the new checkout experience can be enabled from WooCommerce » Payments » Settings:
Customer Usage
Checkout Page
Customers pay on the checkout page, and if the new checkout experience is enabled, the form uses the Stripe Payment Element, which provides a way to accept multiple payment methods in a single secure component.
Payment methods are dynamically displayed based on your customer’s currency and location and are automatically translated.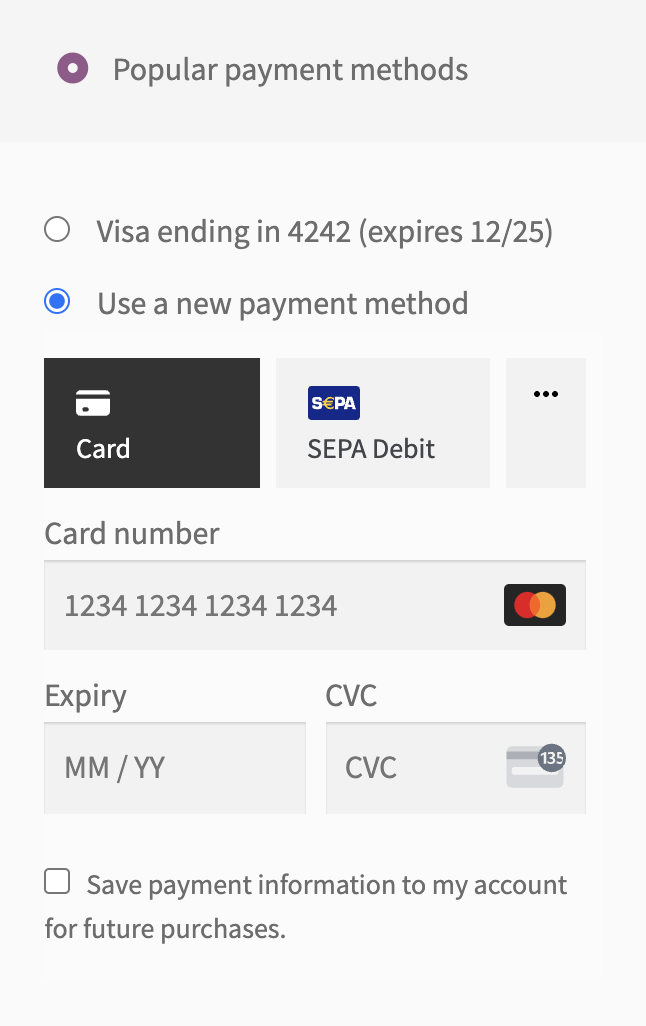
If the new checkout experience is disabled, the form uses Stripe Elements, and different payment methods will be displayed as separate fixed components.
Using a new card, they see the option to enter credit card details and tick the Save payment info to account box (this screenshot shows a disabled “separate credit card form” version).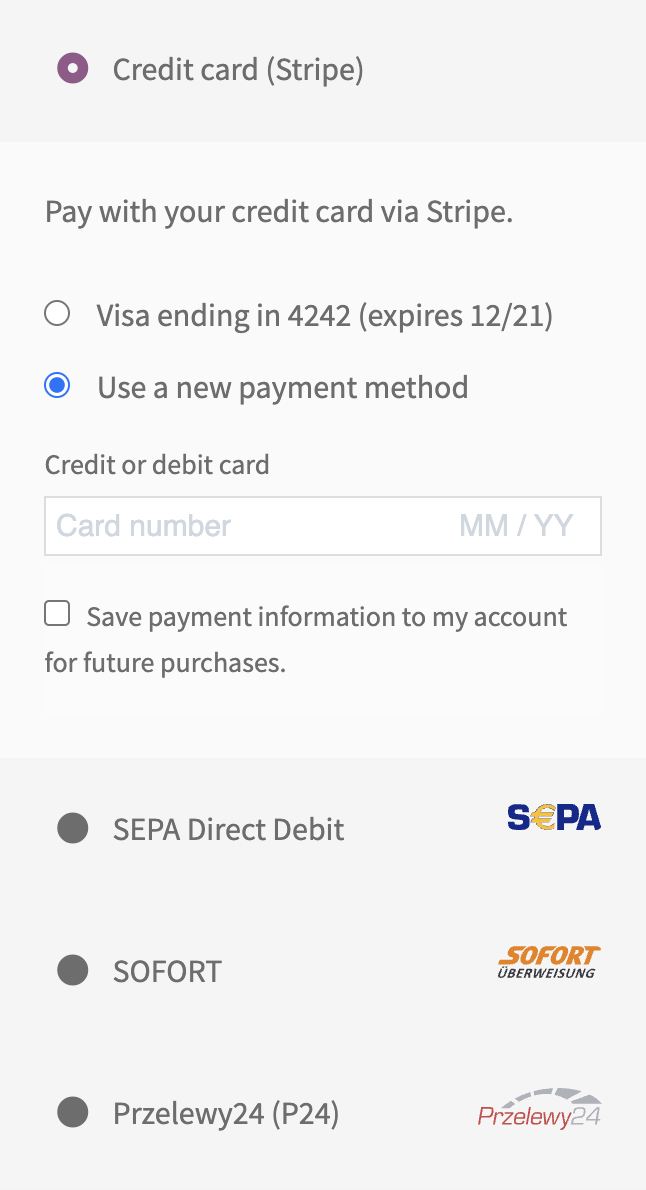
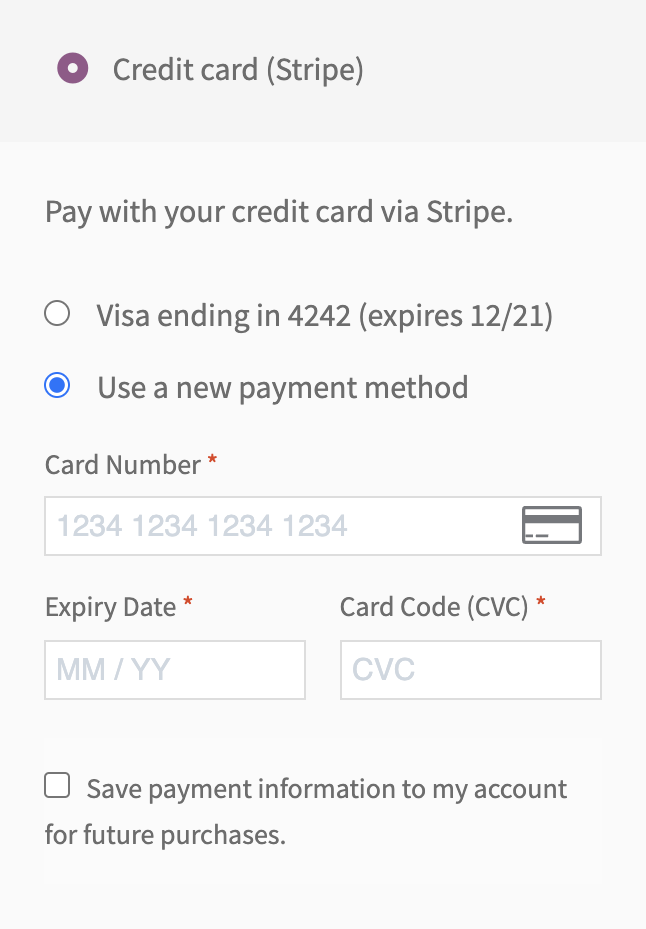
For customers who have a saved card, they are presented with stored card options on file (if that option is enabled) or they can store a new one (screenshot showing the standard separate credit card form):
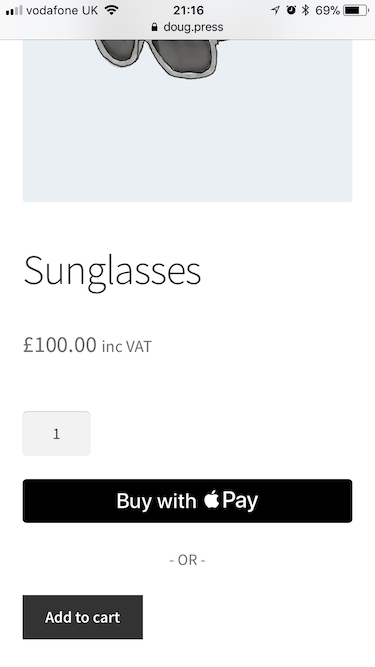
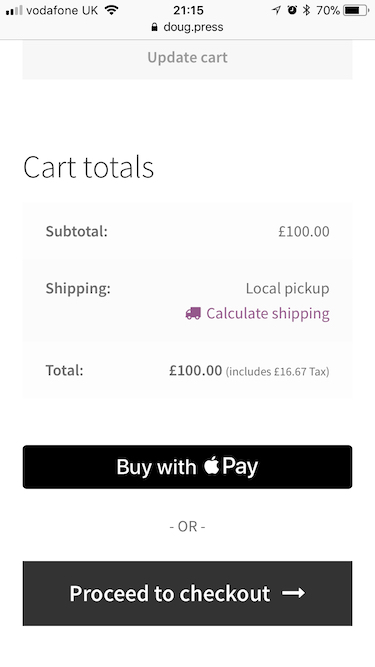
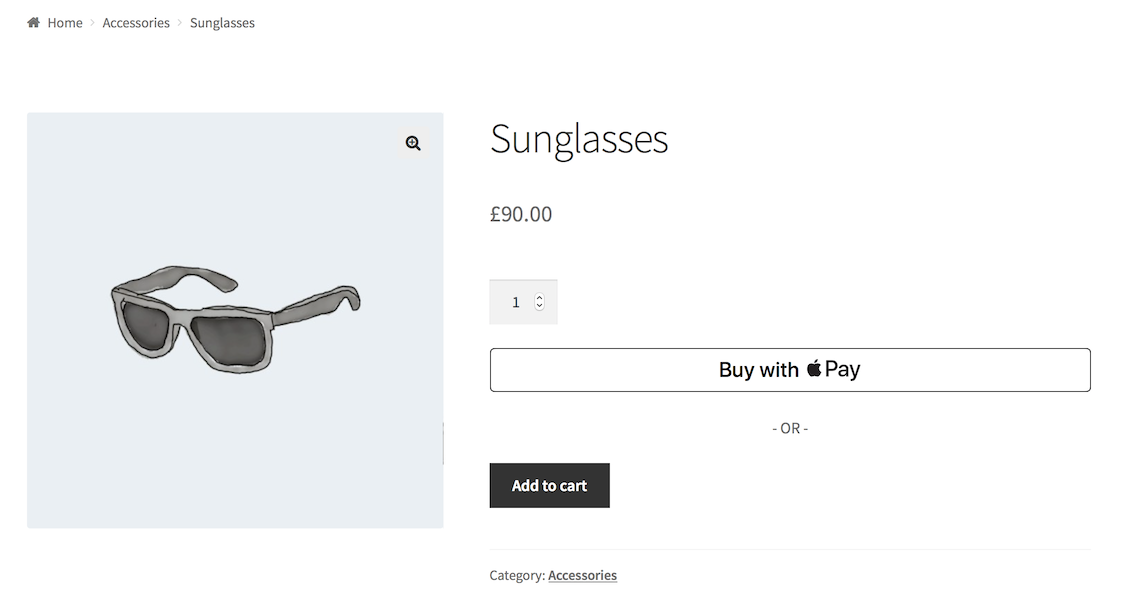
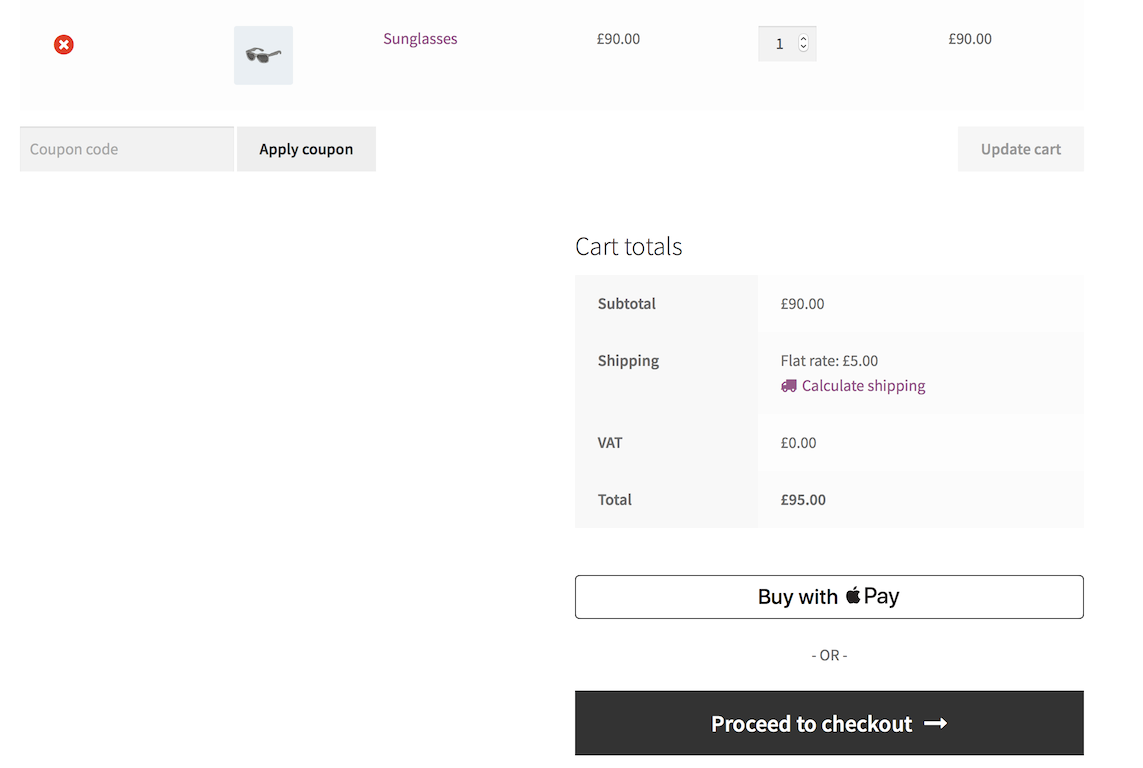
When express checkouts are enabled, customers can see the corresponding button on the product page, cart page or checkout page when using a supported device, browser, and payment method.
Express checkouts
Browse the gallery to view default layouts for express checkout buttons.


Saved Payment Methods
On the My Account page, customers can add, view, and remove payment methods from their account within the Payment Methods submenu.
These are the payment methods which can be saved:
- Credit card
- SEPA Direct Debit
- Bancontact *
- iDEAL *
- Sofort *
Payment methods with * can only be saved if the new checkout experience is enabled.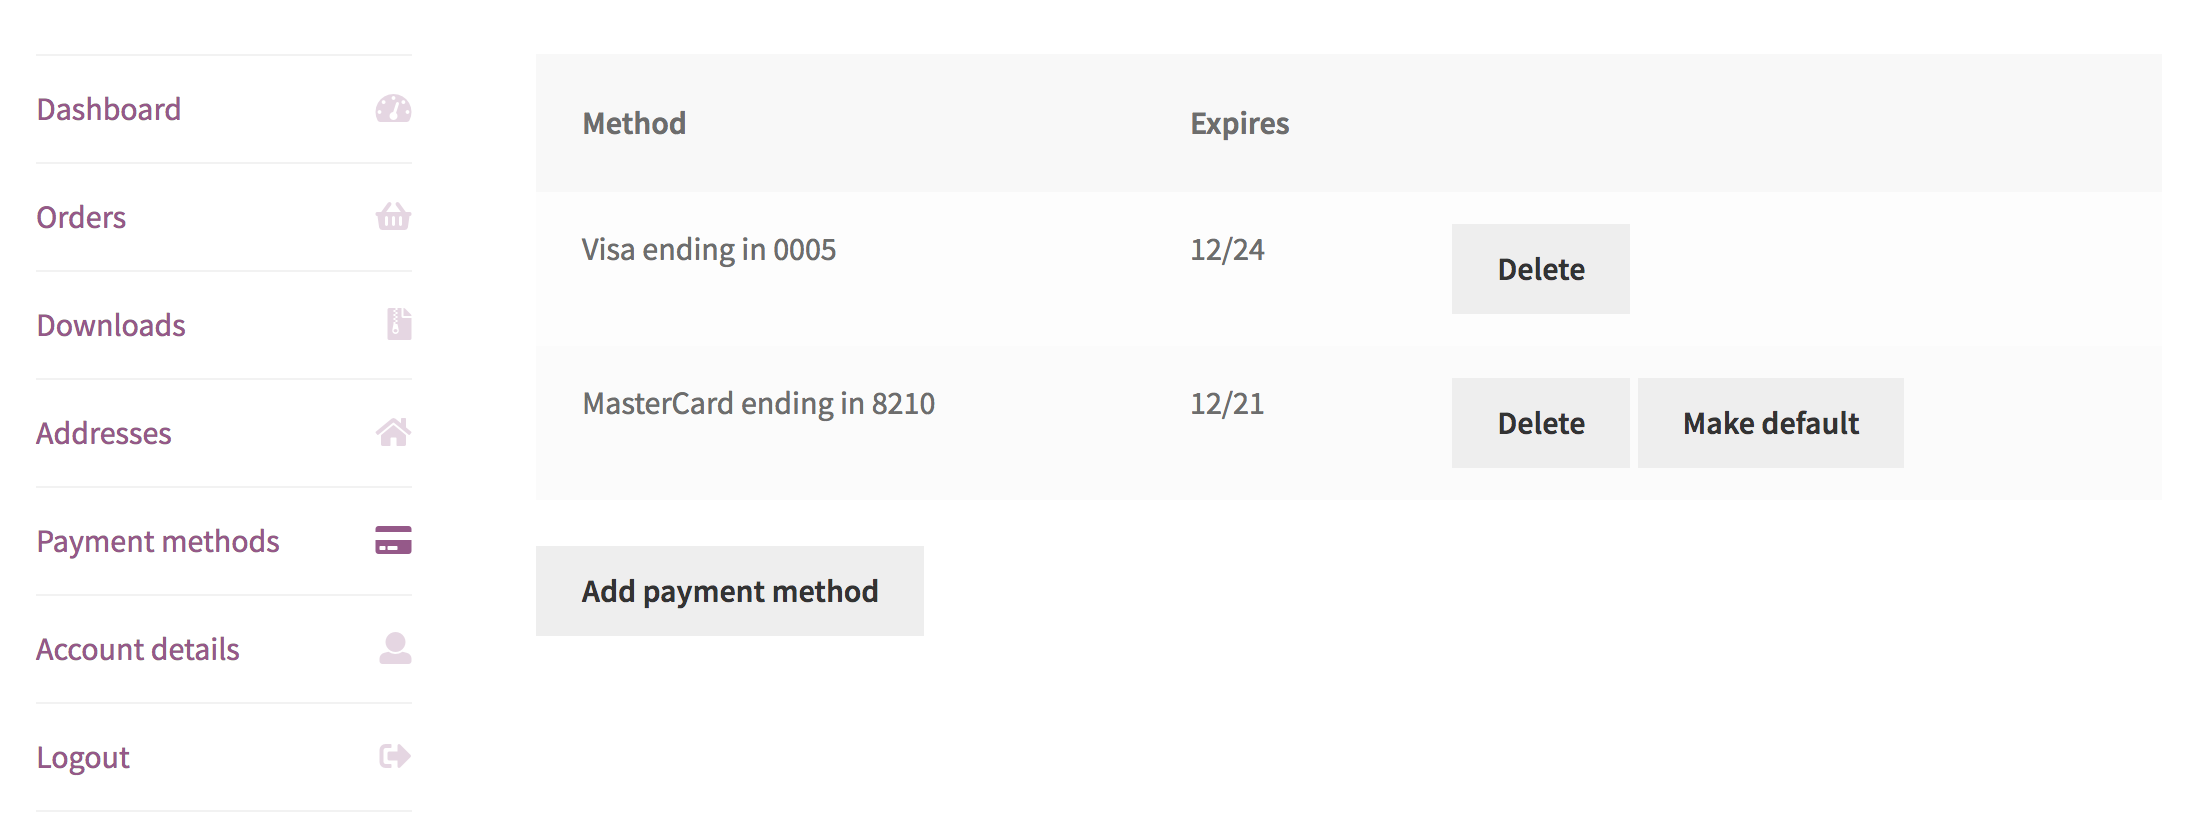
SCA/PSD2
What is SCA/PSD2
New requirements for authenticating online payments were introduced in Europe with the second Payment Services Directive (PSD2) as of September 2019. These requirements are referred to as Strong Customer Authentication (SCA) for most electronic payments.
WooCommerce.com works with payment partners, of which Stripe.com is one, to ensure all payment gateway extensions are updated. We have a post that goes through this in more detail. Our Stripe extension implemented this new change as of version 4.2.0.
Failed Payments, Subscription Renewals and SCA
It’s possible that you, the store owner, may receive an “Order #XXX has Failed” email when a subscription is due to renew, or when you are attempting to manually process a subscription renewal (from the Edit Subscription > Subscription Actions > Process Renewal) flow.
Why? The buyer may need to log in to authenticate the payment due to Strong Customer Authentication (SCA) or other authentication requirements by the bank issuing their credit card. If this is the case, there will be corresponding failed order notes:
- “Stripe charge awaiting authentication by user”
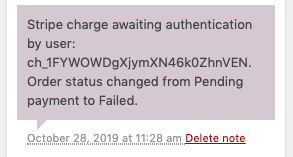
- “Stripe SCA authentication failed.”

- “This transaction requires authentication.”
At the same time you receive the “Order #XXXX has Failed” email, the buyer is sent a “Payment authorization needed for renewal“ email asking them to log back in and authorise the payment with an included link.
Once the buyer returns and authorises payment, the renewal order changes from Failed to Processing, and the subscription becomes Active again.


Related Articles
Woocommerce Stripe Payment Gateway
View Guide Links at the bottom of the page Installation 1 CRU CREDIT Setup (optional) 1 CRU CREDIT Ease Of Use Easy Want this feature? Request Here Purchase CREDITS Here Accept all major debit and credit cards as well as local payment methods with ...Woocommerce Stripe Gateway - Troubleshoot Guide
Check the table of contents in this article for each troubleshooting topic How to get your Stripe API keys? In order to get your Stripe API keys, first, you need to create your Stripe account. Once you’re ready, you can find your Stripe API keys in ...WooCommerce eWAY Payment Gateway - Feature
View Guide Links at the bottom of the page Installation 1 CRU CREDIT Setup (optional) 1 CRU CREDIT Ease Of Use Easy Want this feature? Request Here Purchase CREDITS Here The Eway extension for WooCommerce allows you to take credit card payments ...Square Payments and Point of Sale - User Guide
For pricing and how to add to your website see at the bottom of the page. Configure To begin using WooCommerce Square, you first need to connect your site to Square by following the steps below: Go to WooCommerce > Settings > Square. Select Connect ...WooCommerce eWAY Payment Gateway - User Guide
For pricing and how to add to your website see at the bottom of the page. Setup and Configuration To set up Eway on your WooCommerce store: Go to: WooCommerce > Settings > Payments. Note: ‘Payments’ formerly called ‘Checkout’ prior to WooCommerce ...